
Italian Chicken Sausage Dogs with Chilli (made with fully cooked sausage).
The dogs will take about 20 minutes to heat and the chilli about 20-25 minutes. 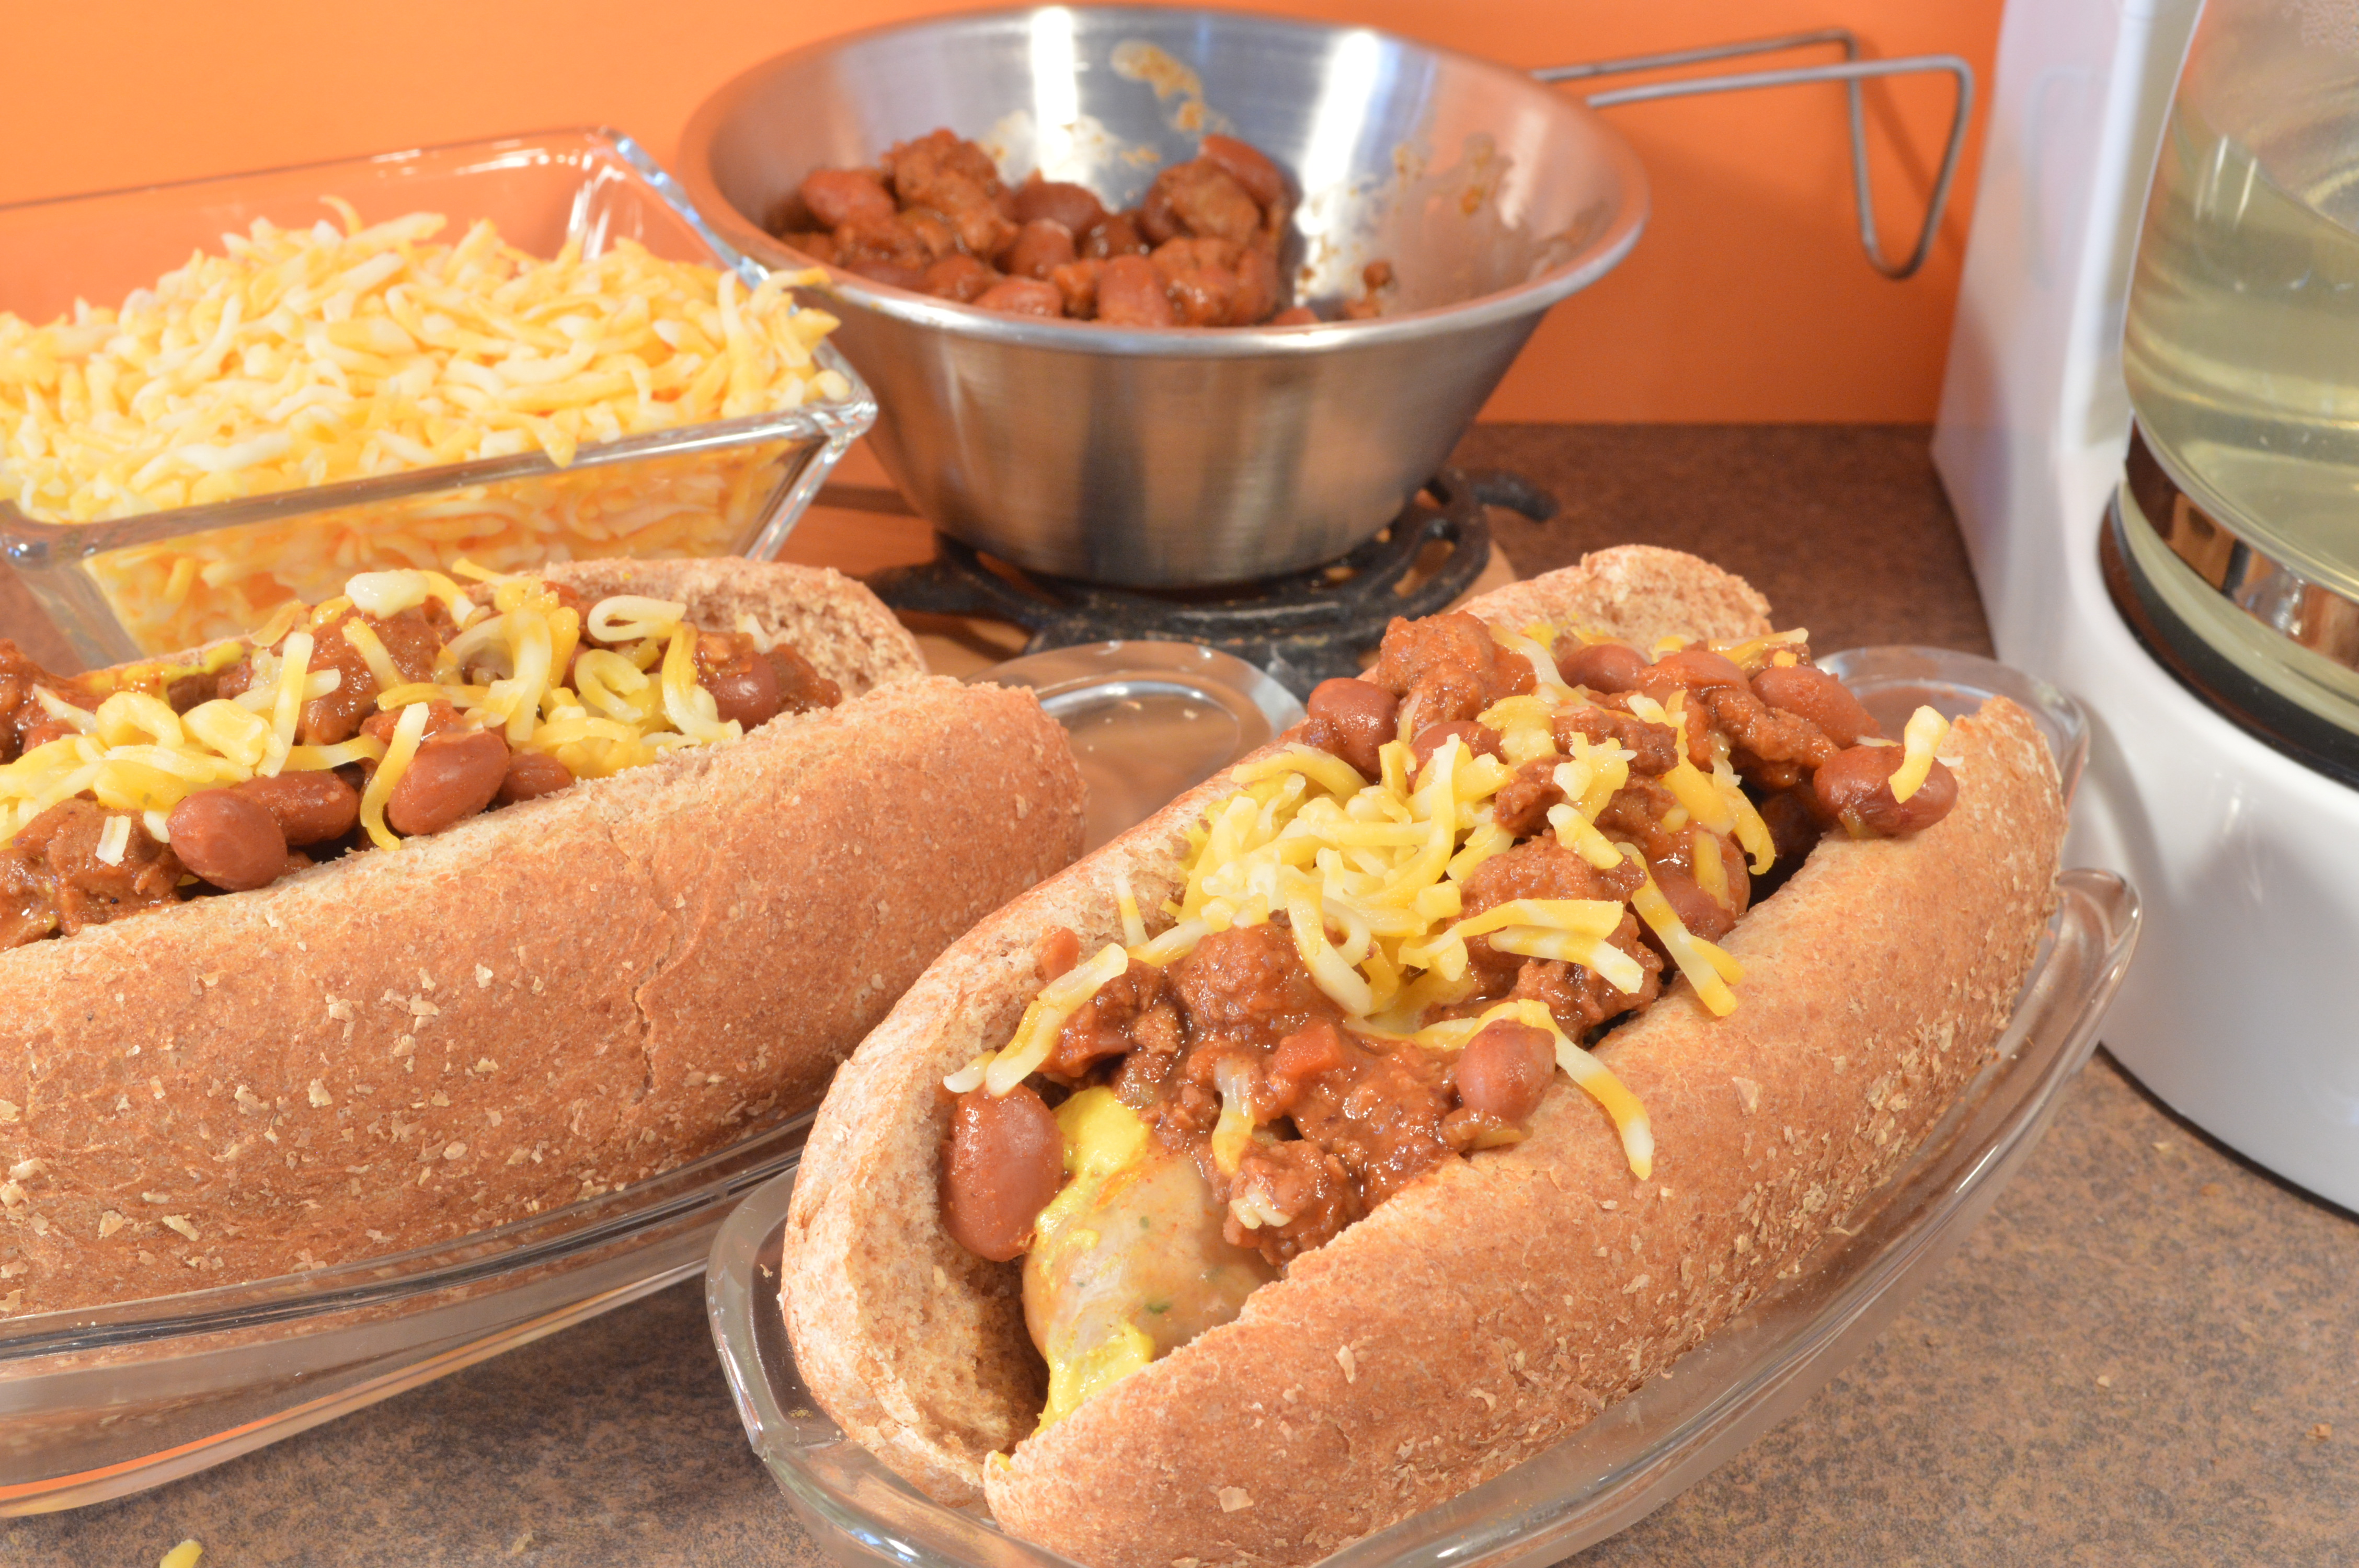
You will be heating the dogs in the pot and the chilli in a Sierra Cup or any other metal container you have that will fit flatly on the burner, be sure to cover it. If you only make 2 dogs you may have left over chilli, get some chips and top them with chilli and cheese.
4 (fully cooked) sausage dogs of your choice
1 can chilli (with or without beans)
buns or bread
condiments
toppings
cheese
onions
jalapenos
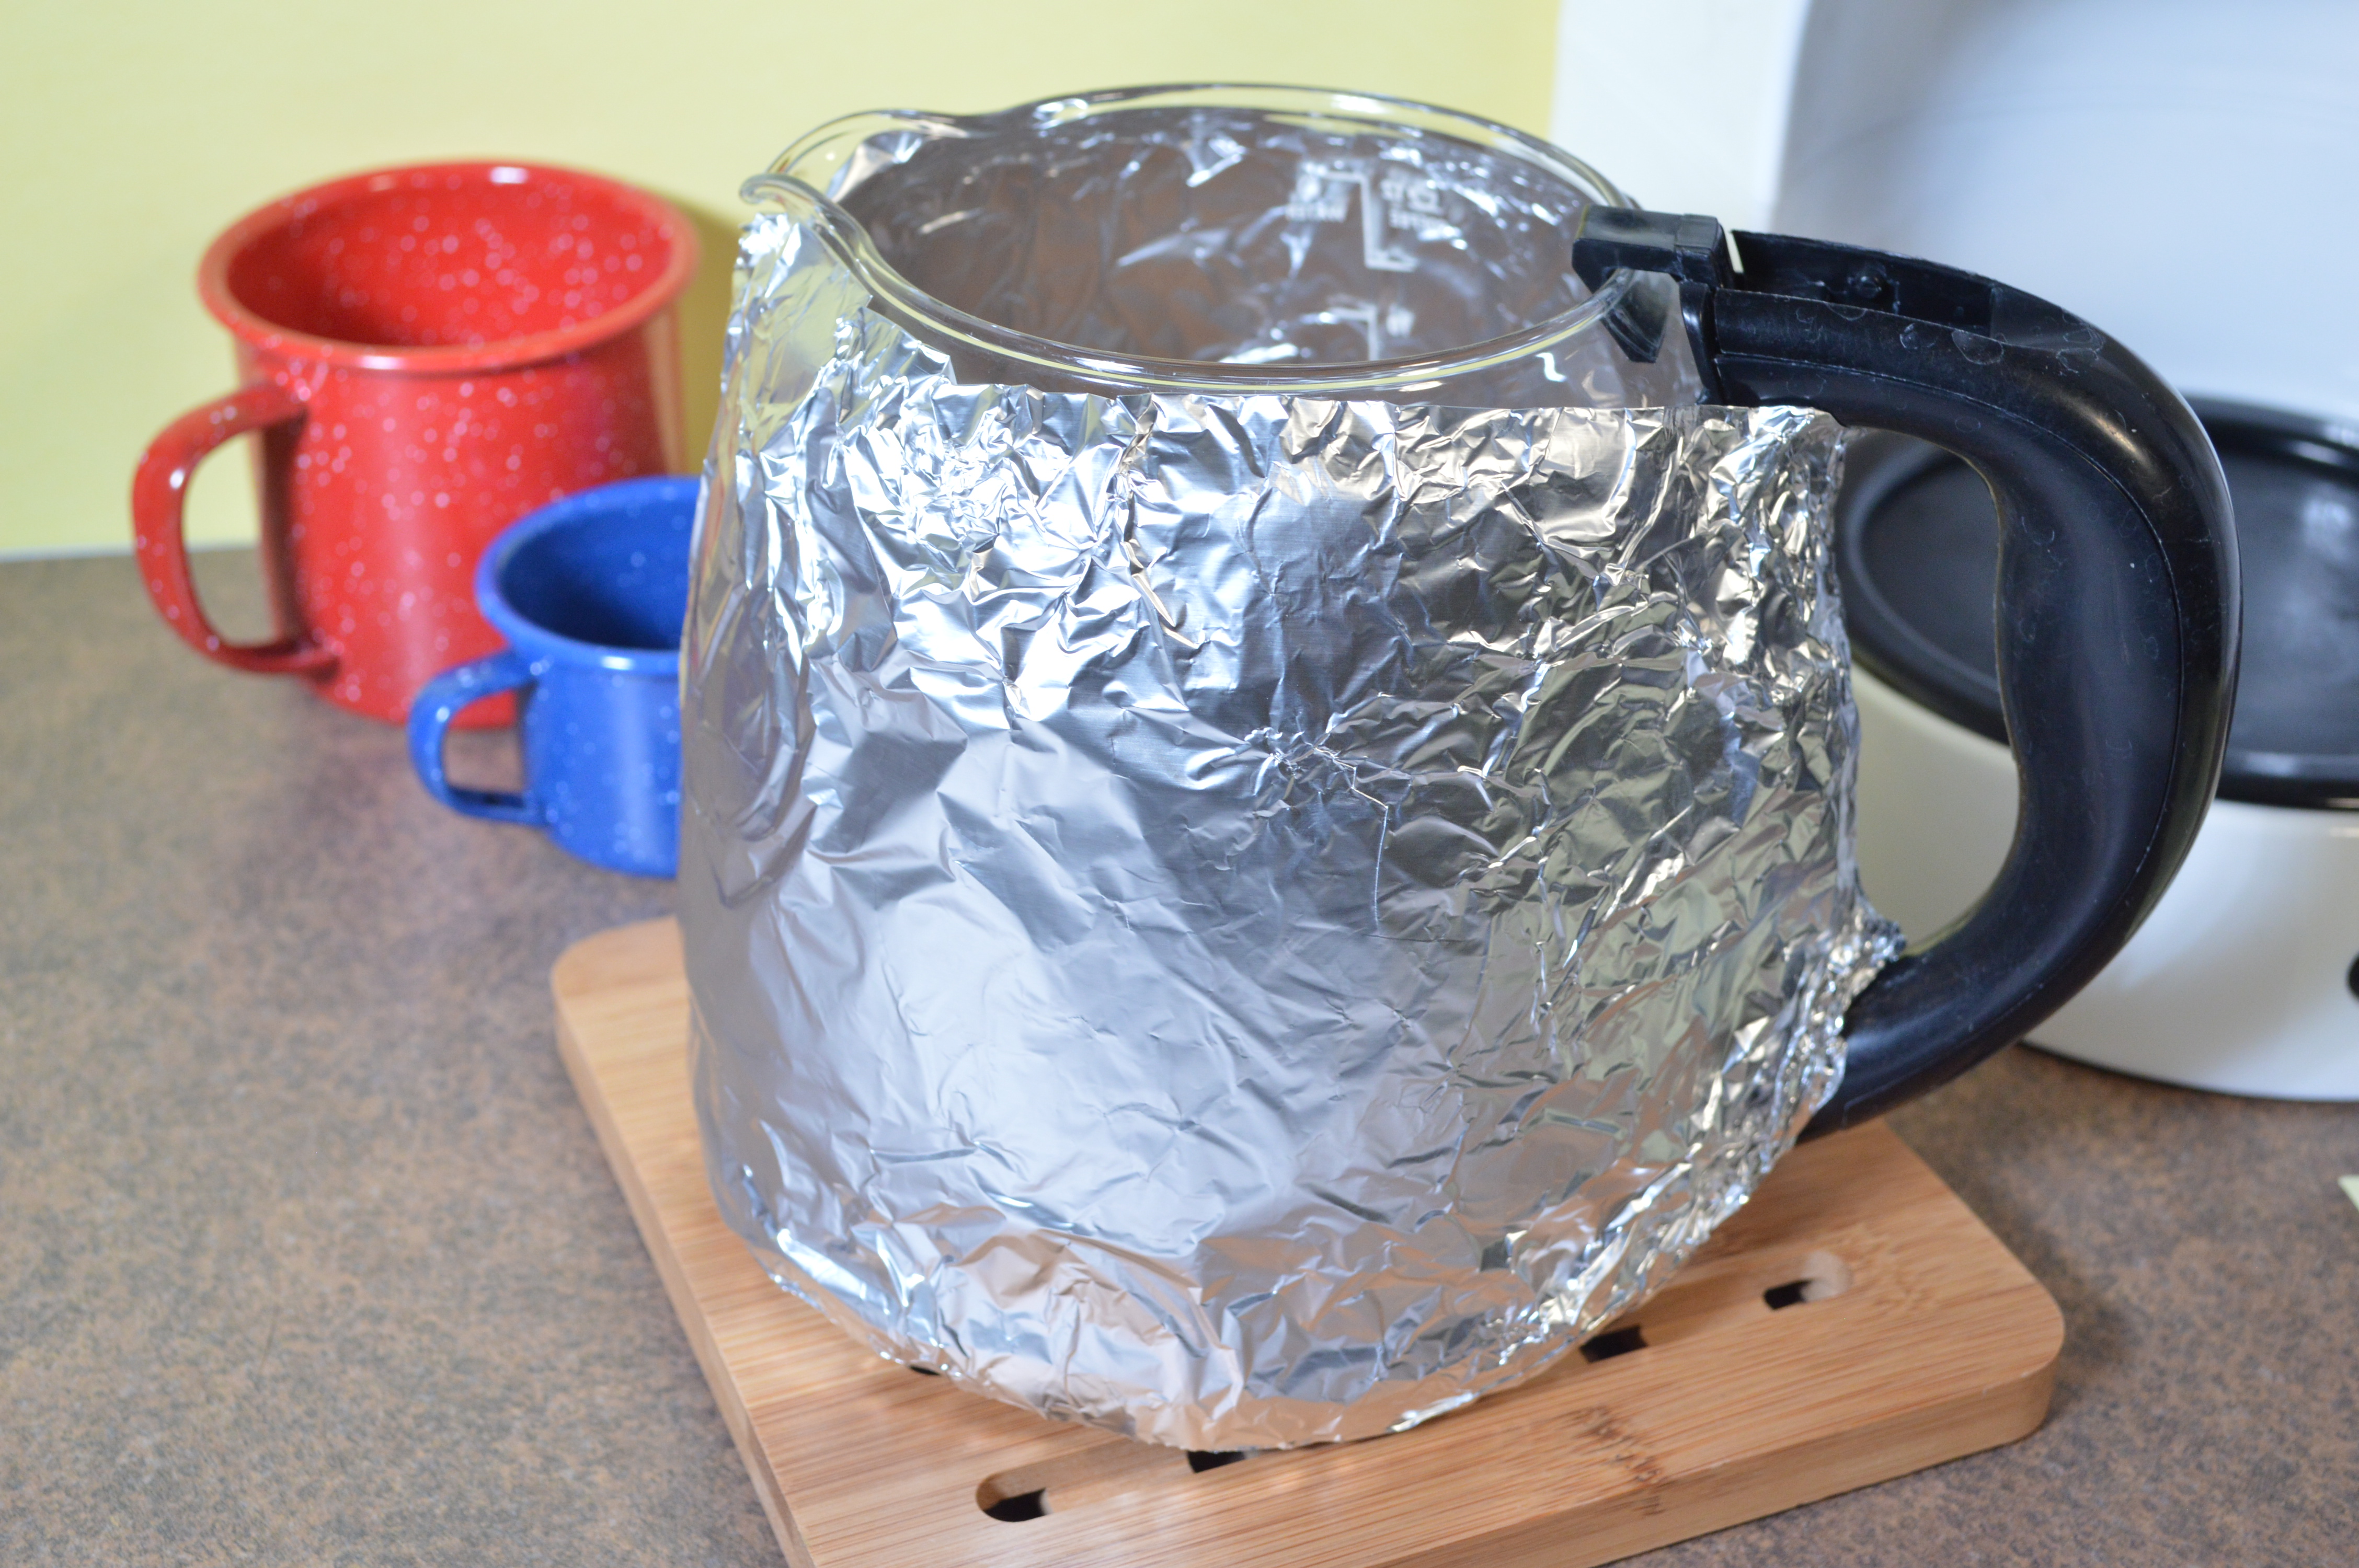
insulate the pot
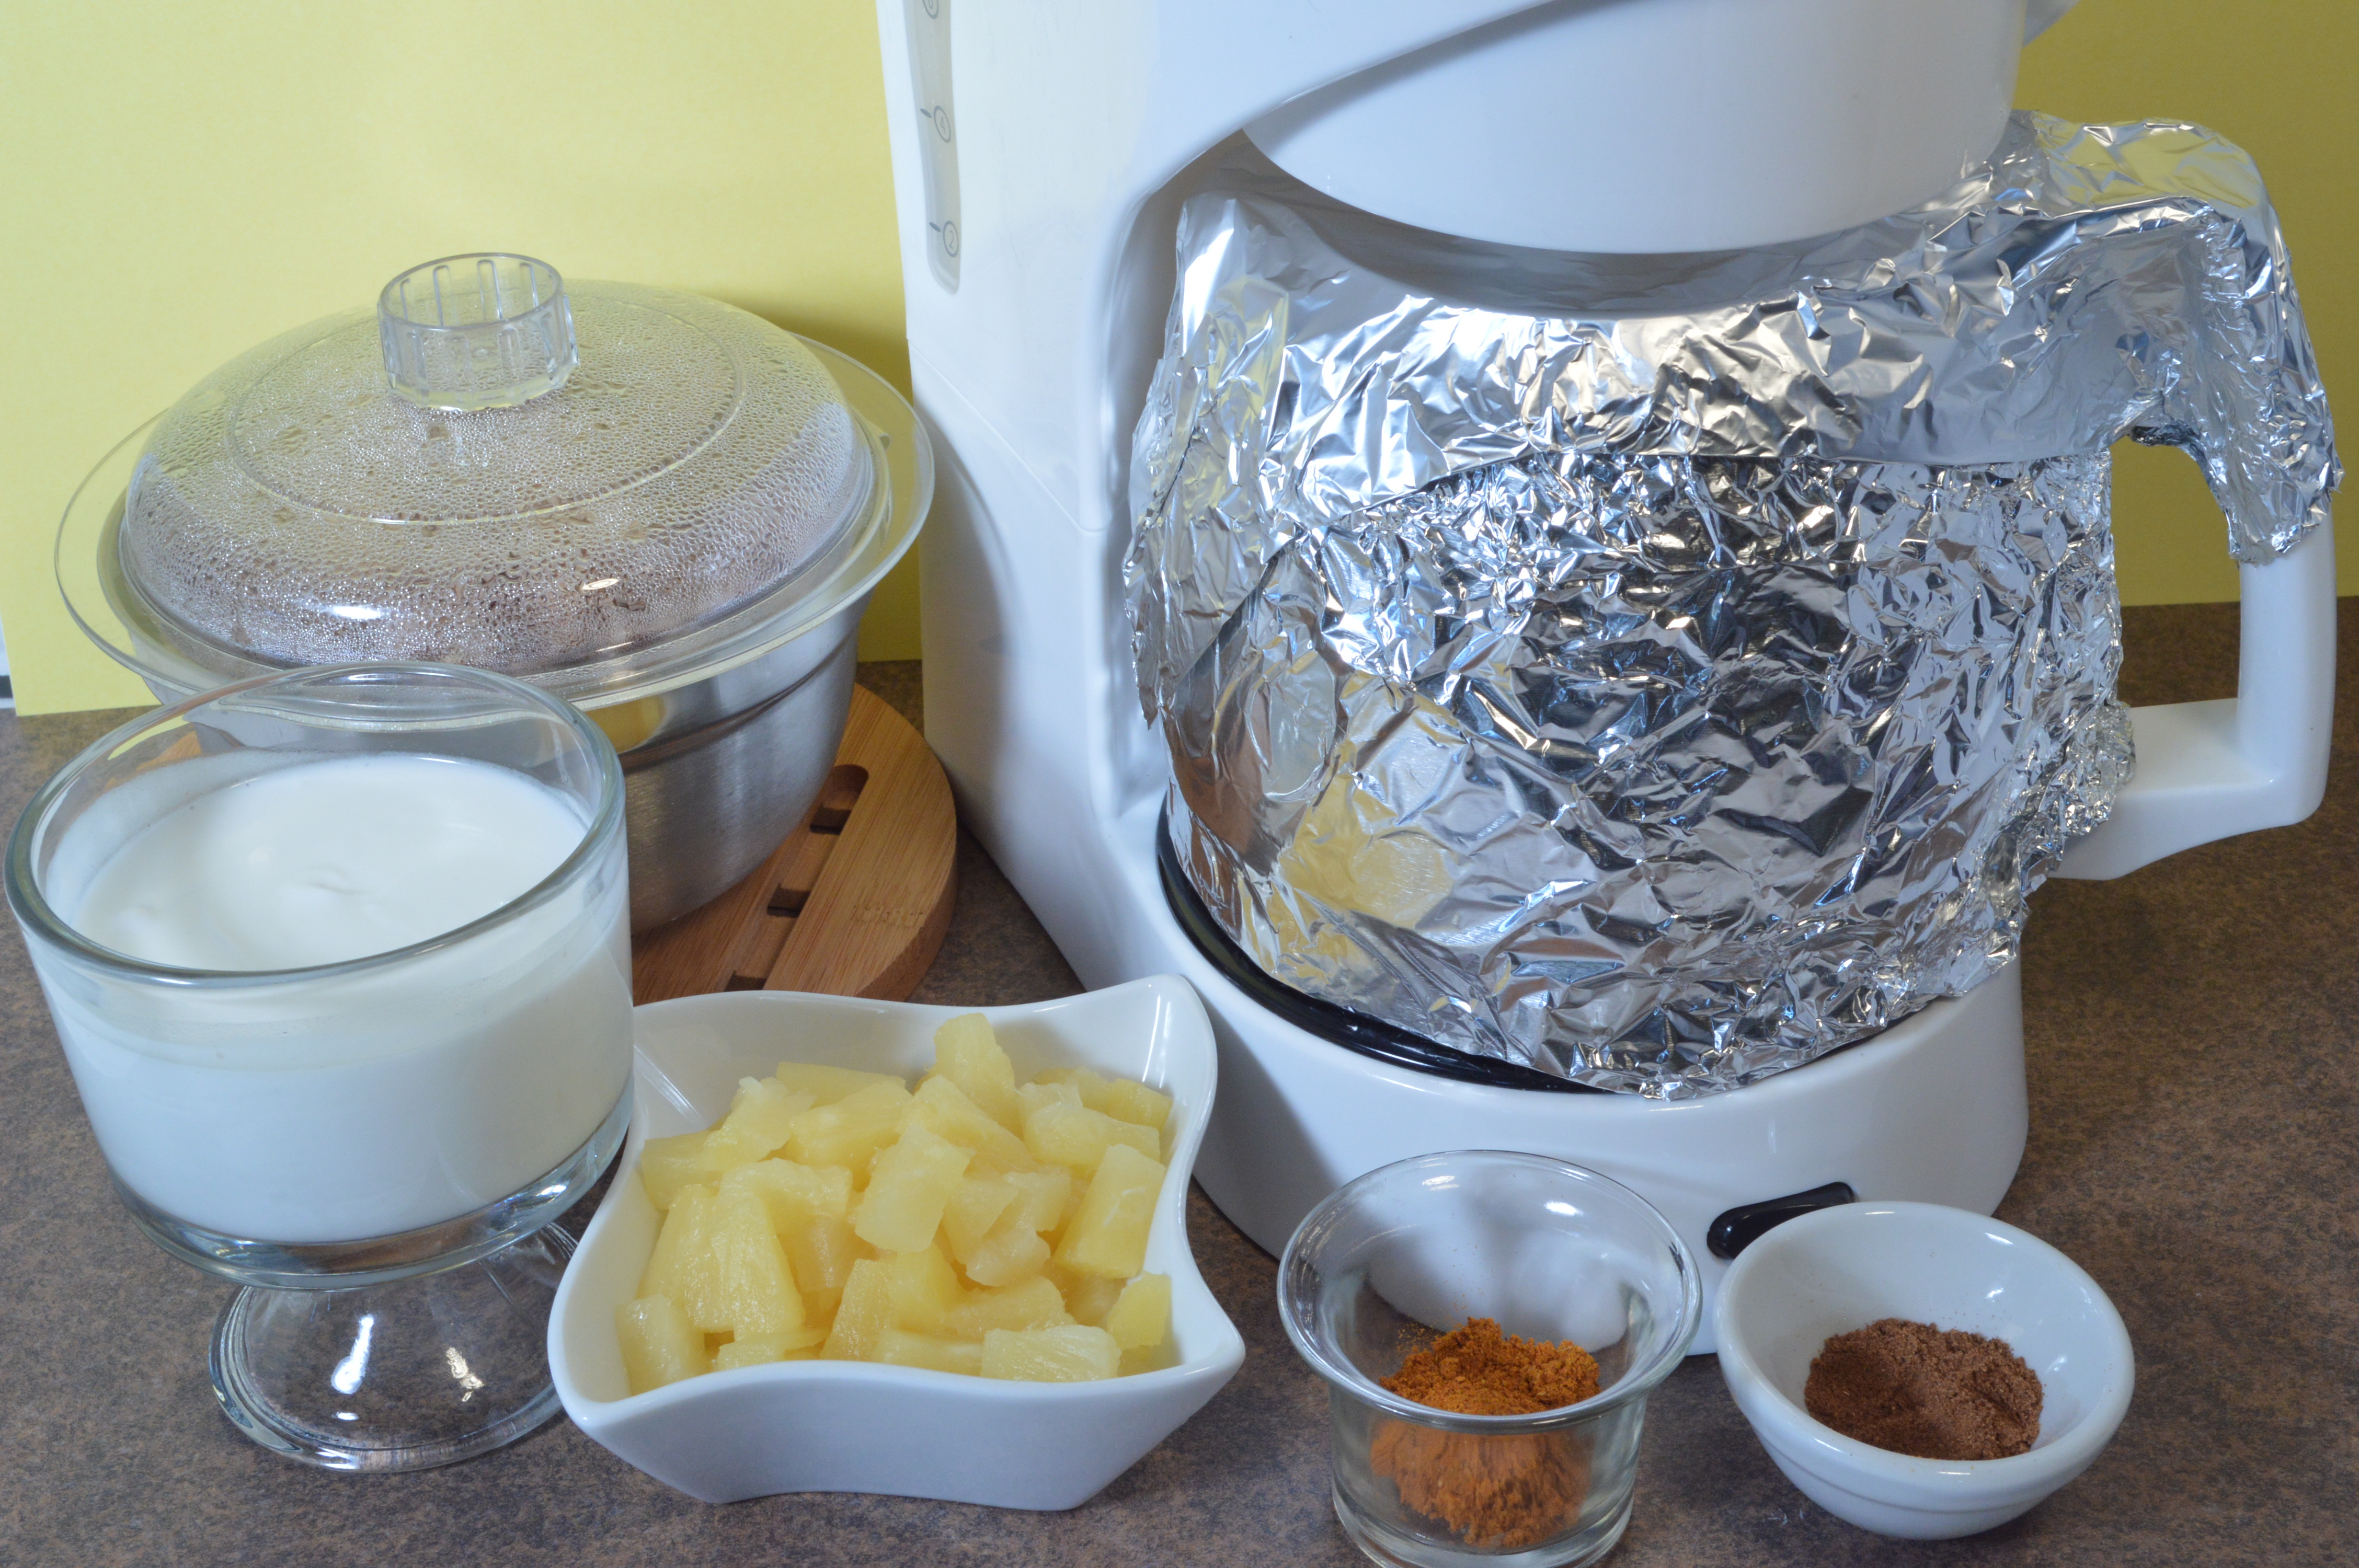
Wrap the coffee pot with a double layer of foil, do not cover the bottom.
Take an 18 inch piece of foil, fold it in half lengthwise and wrap it around the pot. This will help maintain and even raise the temperature of the contents in the pot.
super heat 4 cups water in the pot
To superheat water, pour water in the reservoir and let it drip into the pot.
Pour the water back thru the reservoir, always leaving a little in the pot (never put a dry pot on a hot burner).
Allow the water to drip thru a second time.
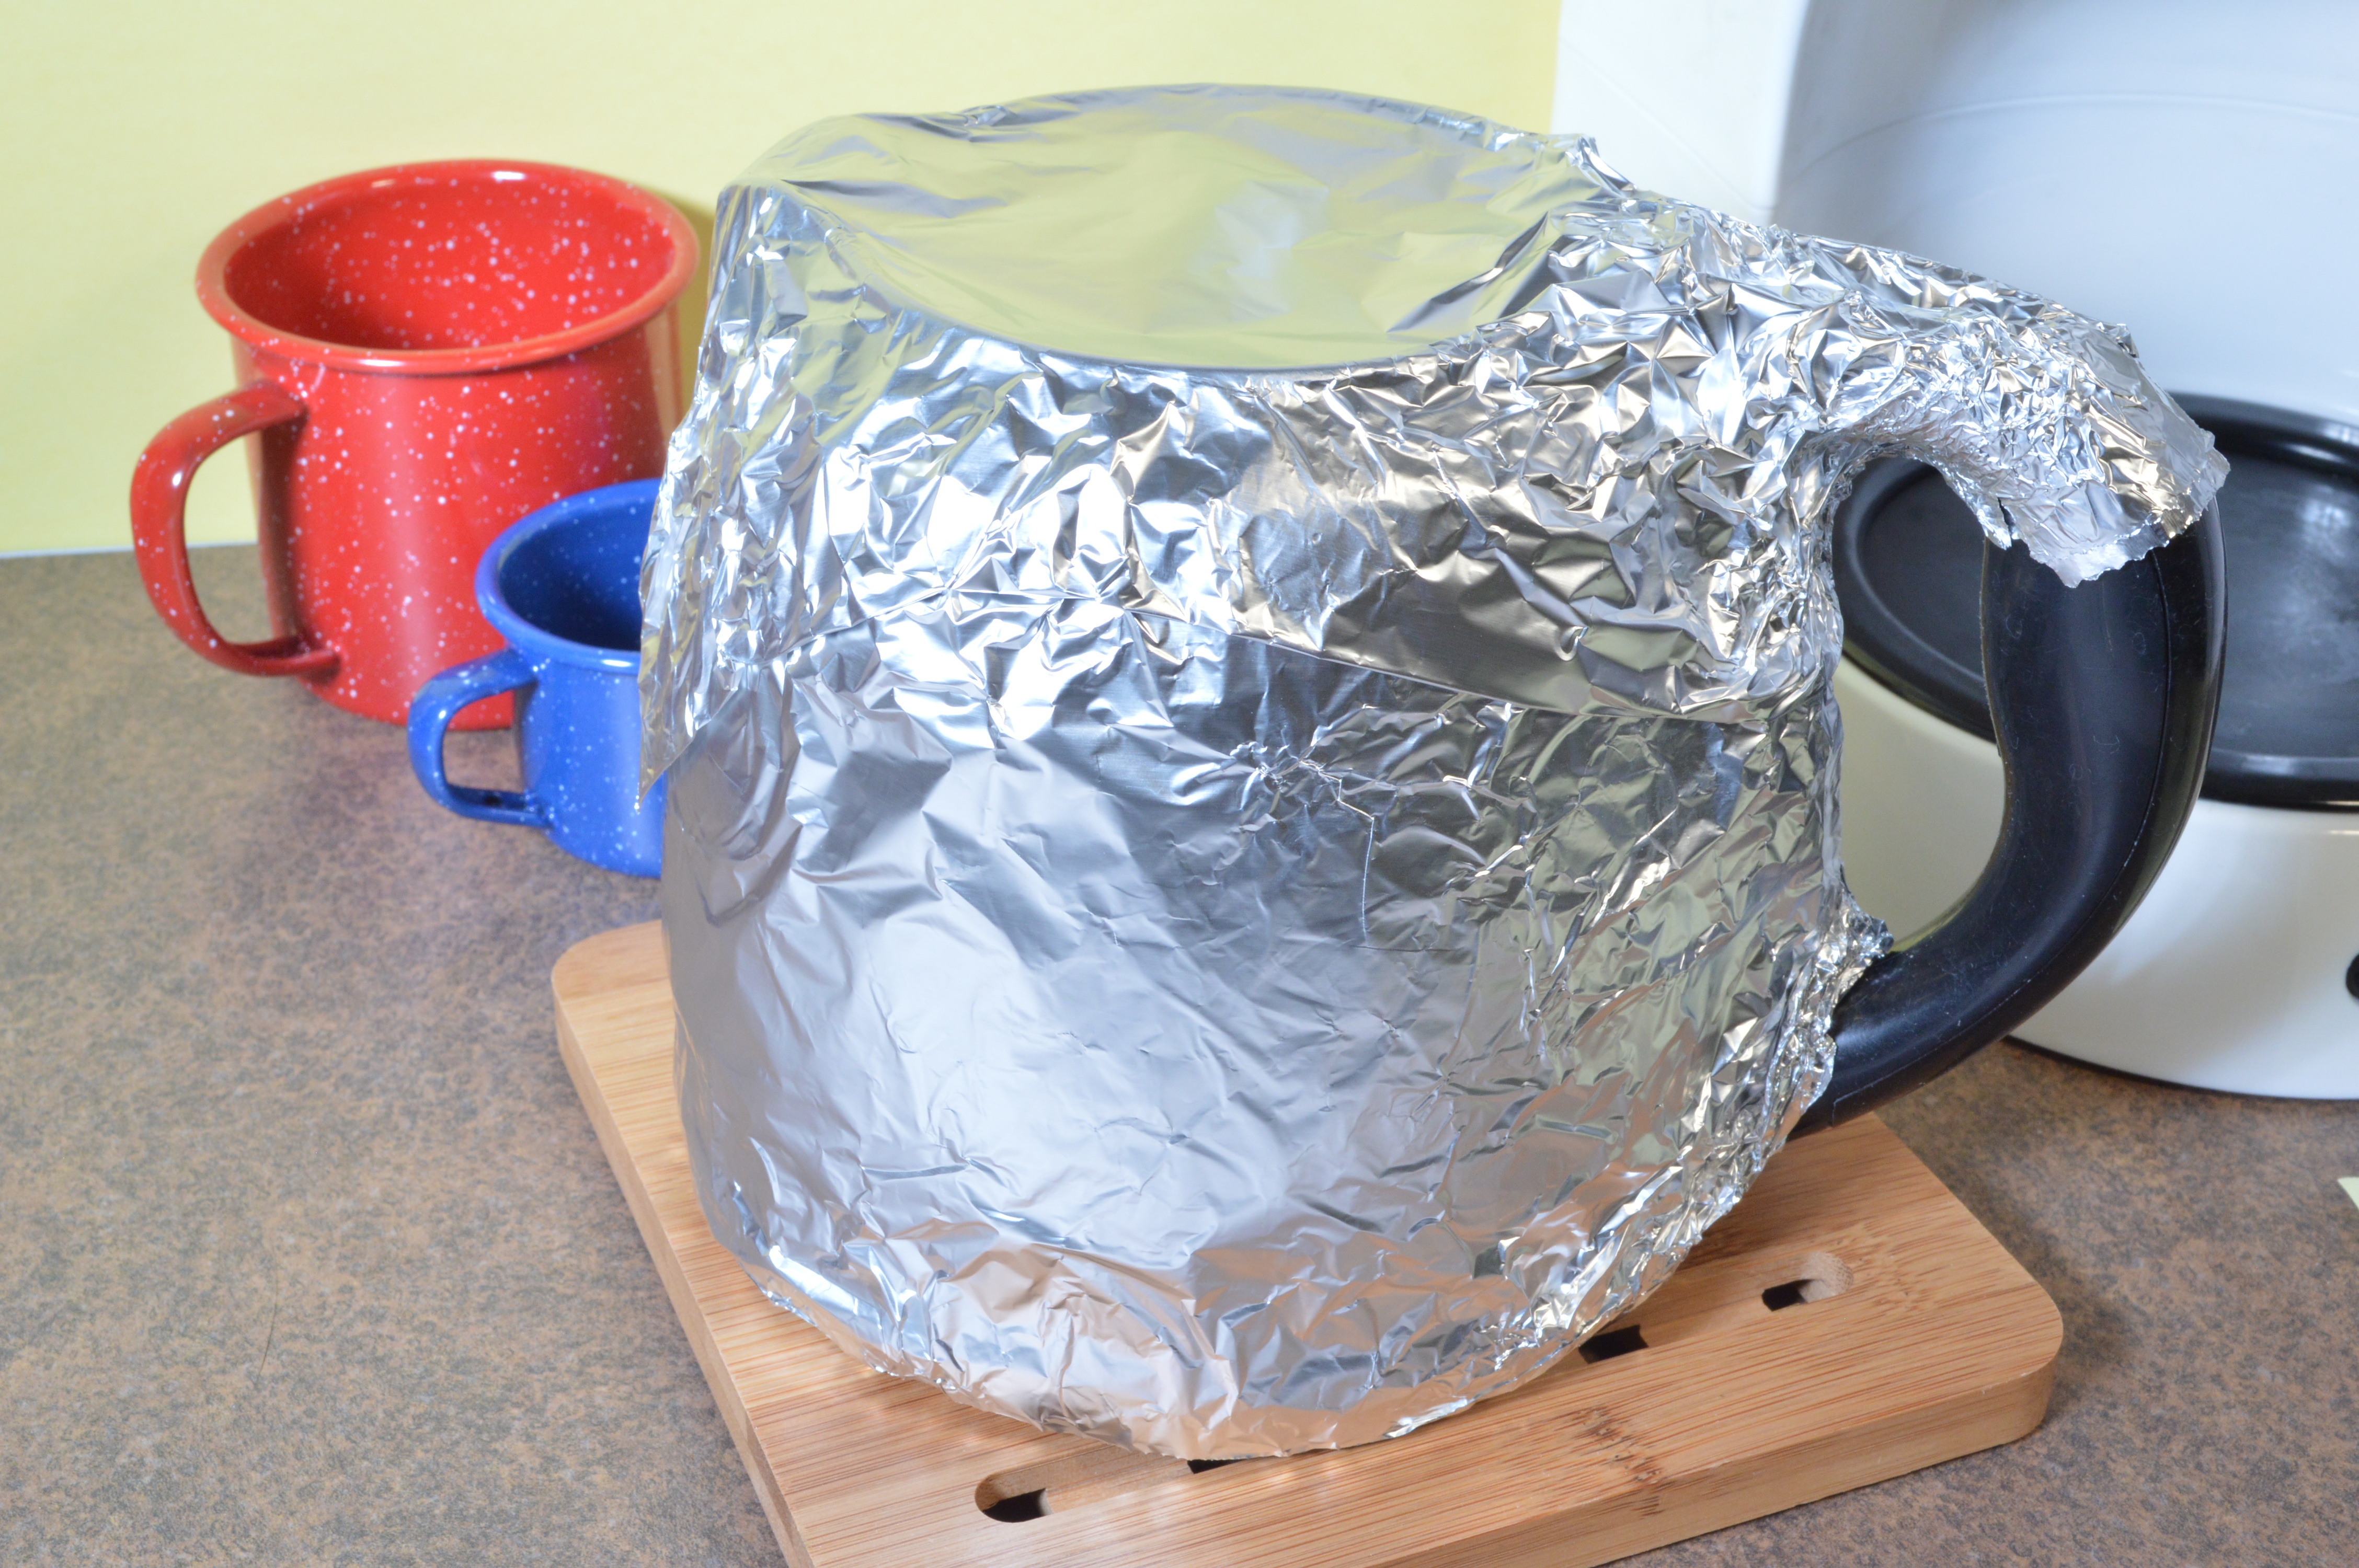
After the water has dripped thru a second time, put a lid on your container, in this case put a double layer of foil over the top of the pot.
caution
Never put a hot pot on a cold surface, put it on a pot holder or a towel. Never use a metal spoon in your coffee pot. Always use a wooden or plastic spoon, the glass is delicate and you don’t want to break it.
warm
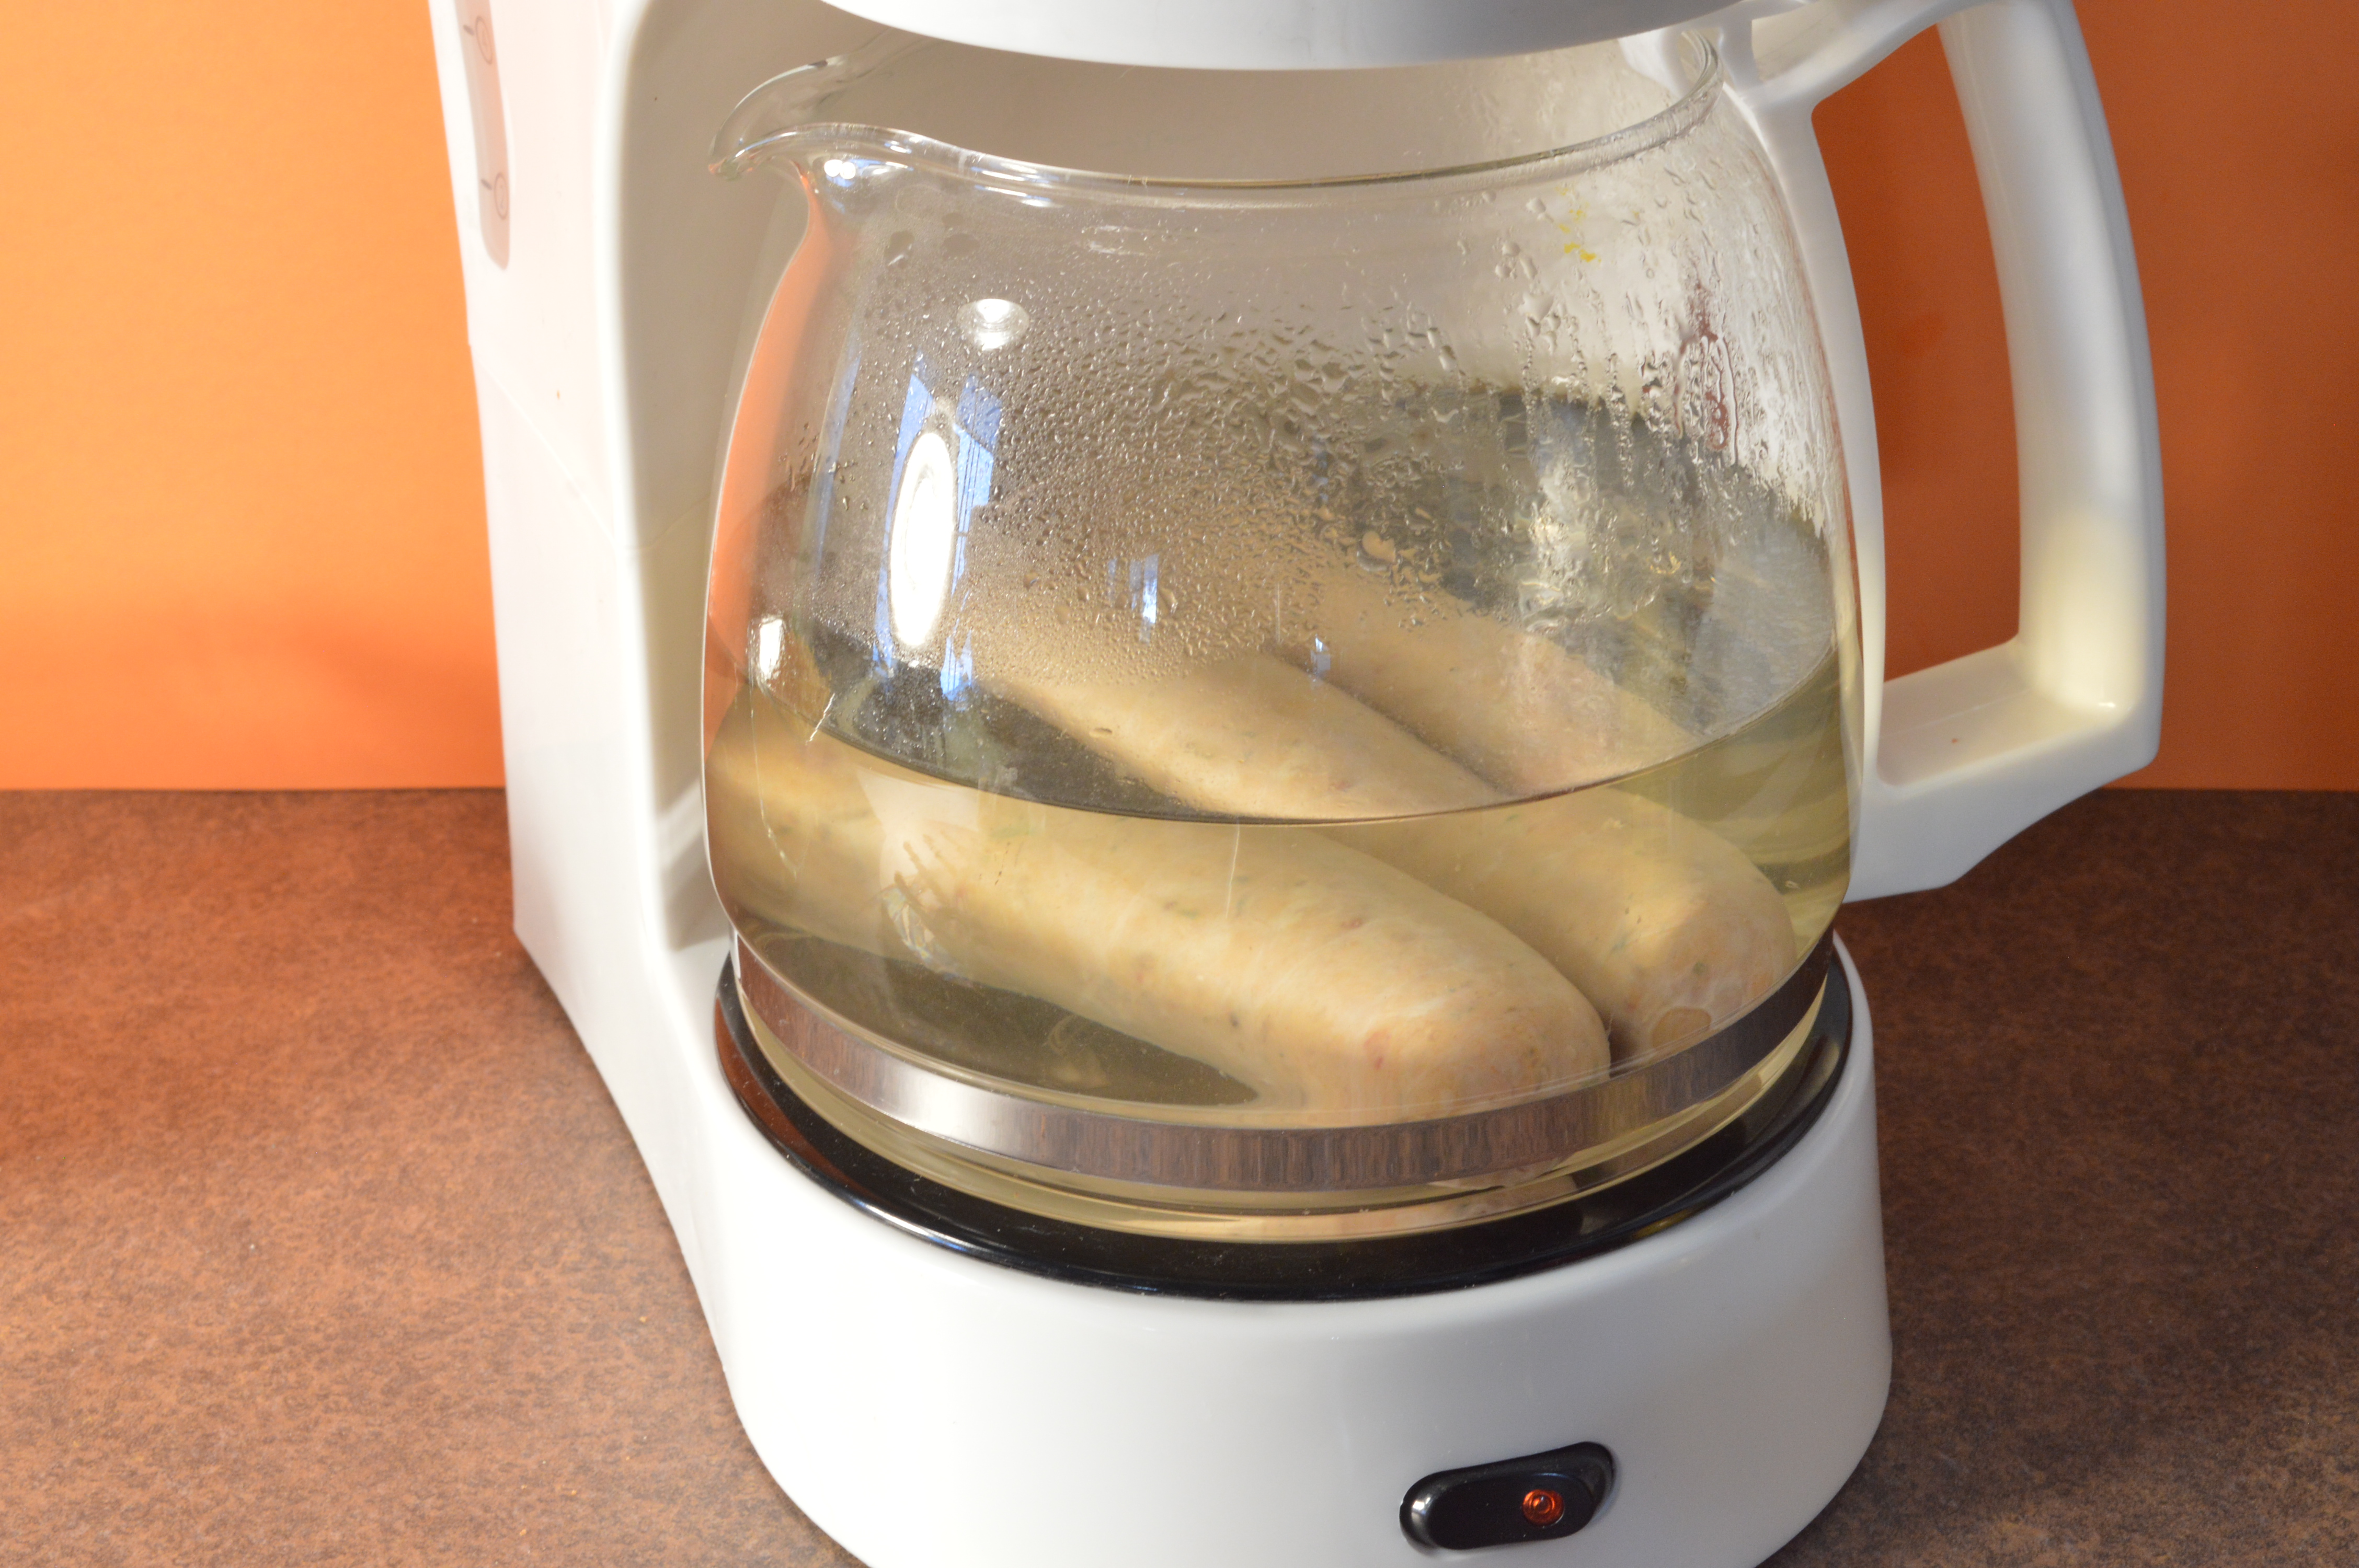
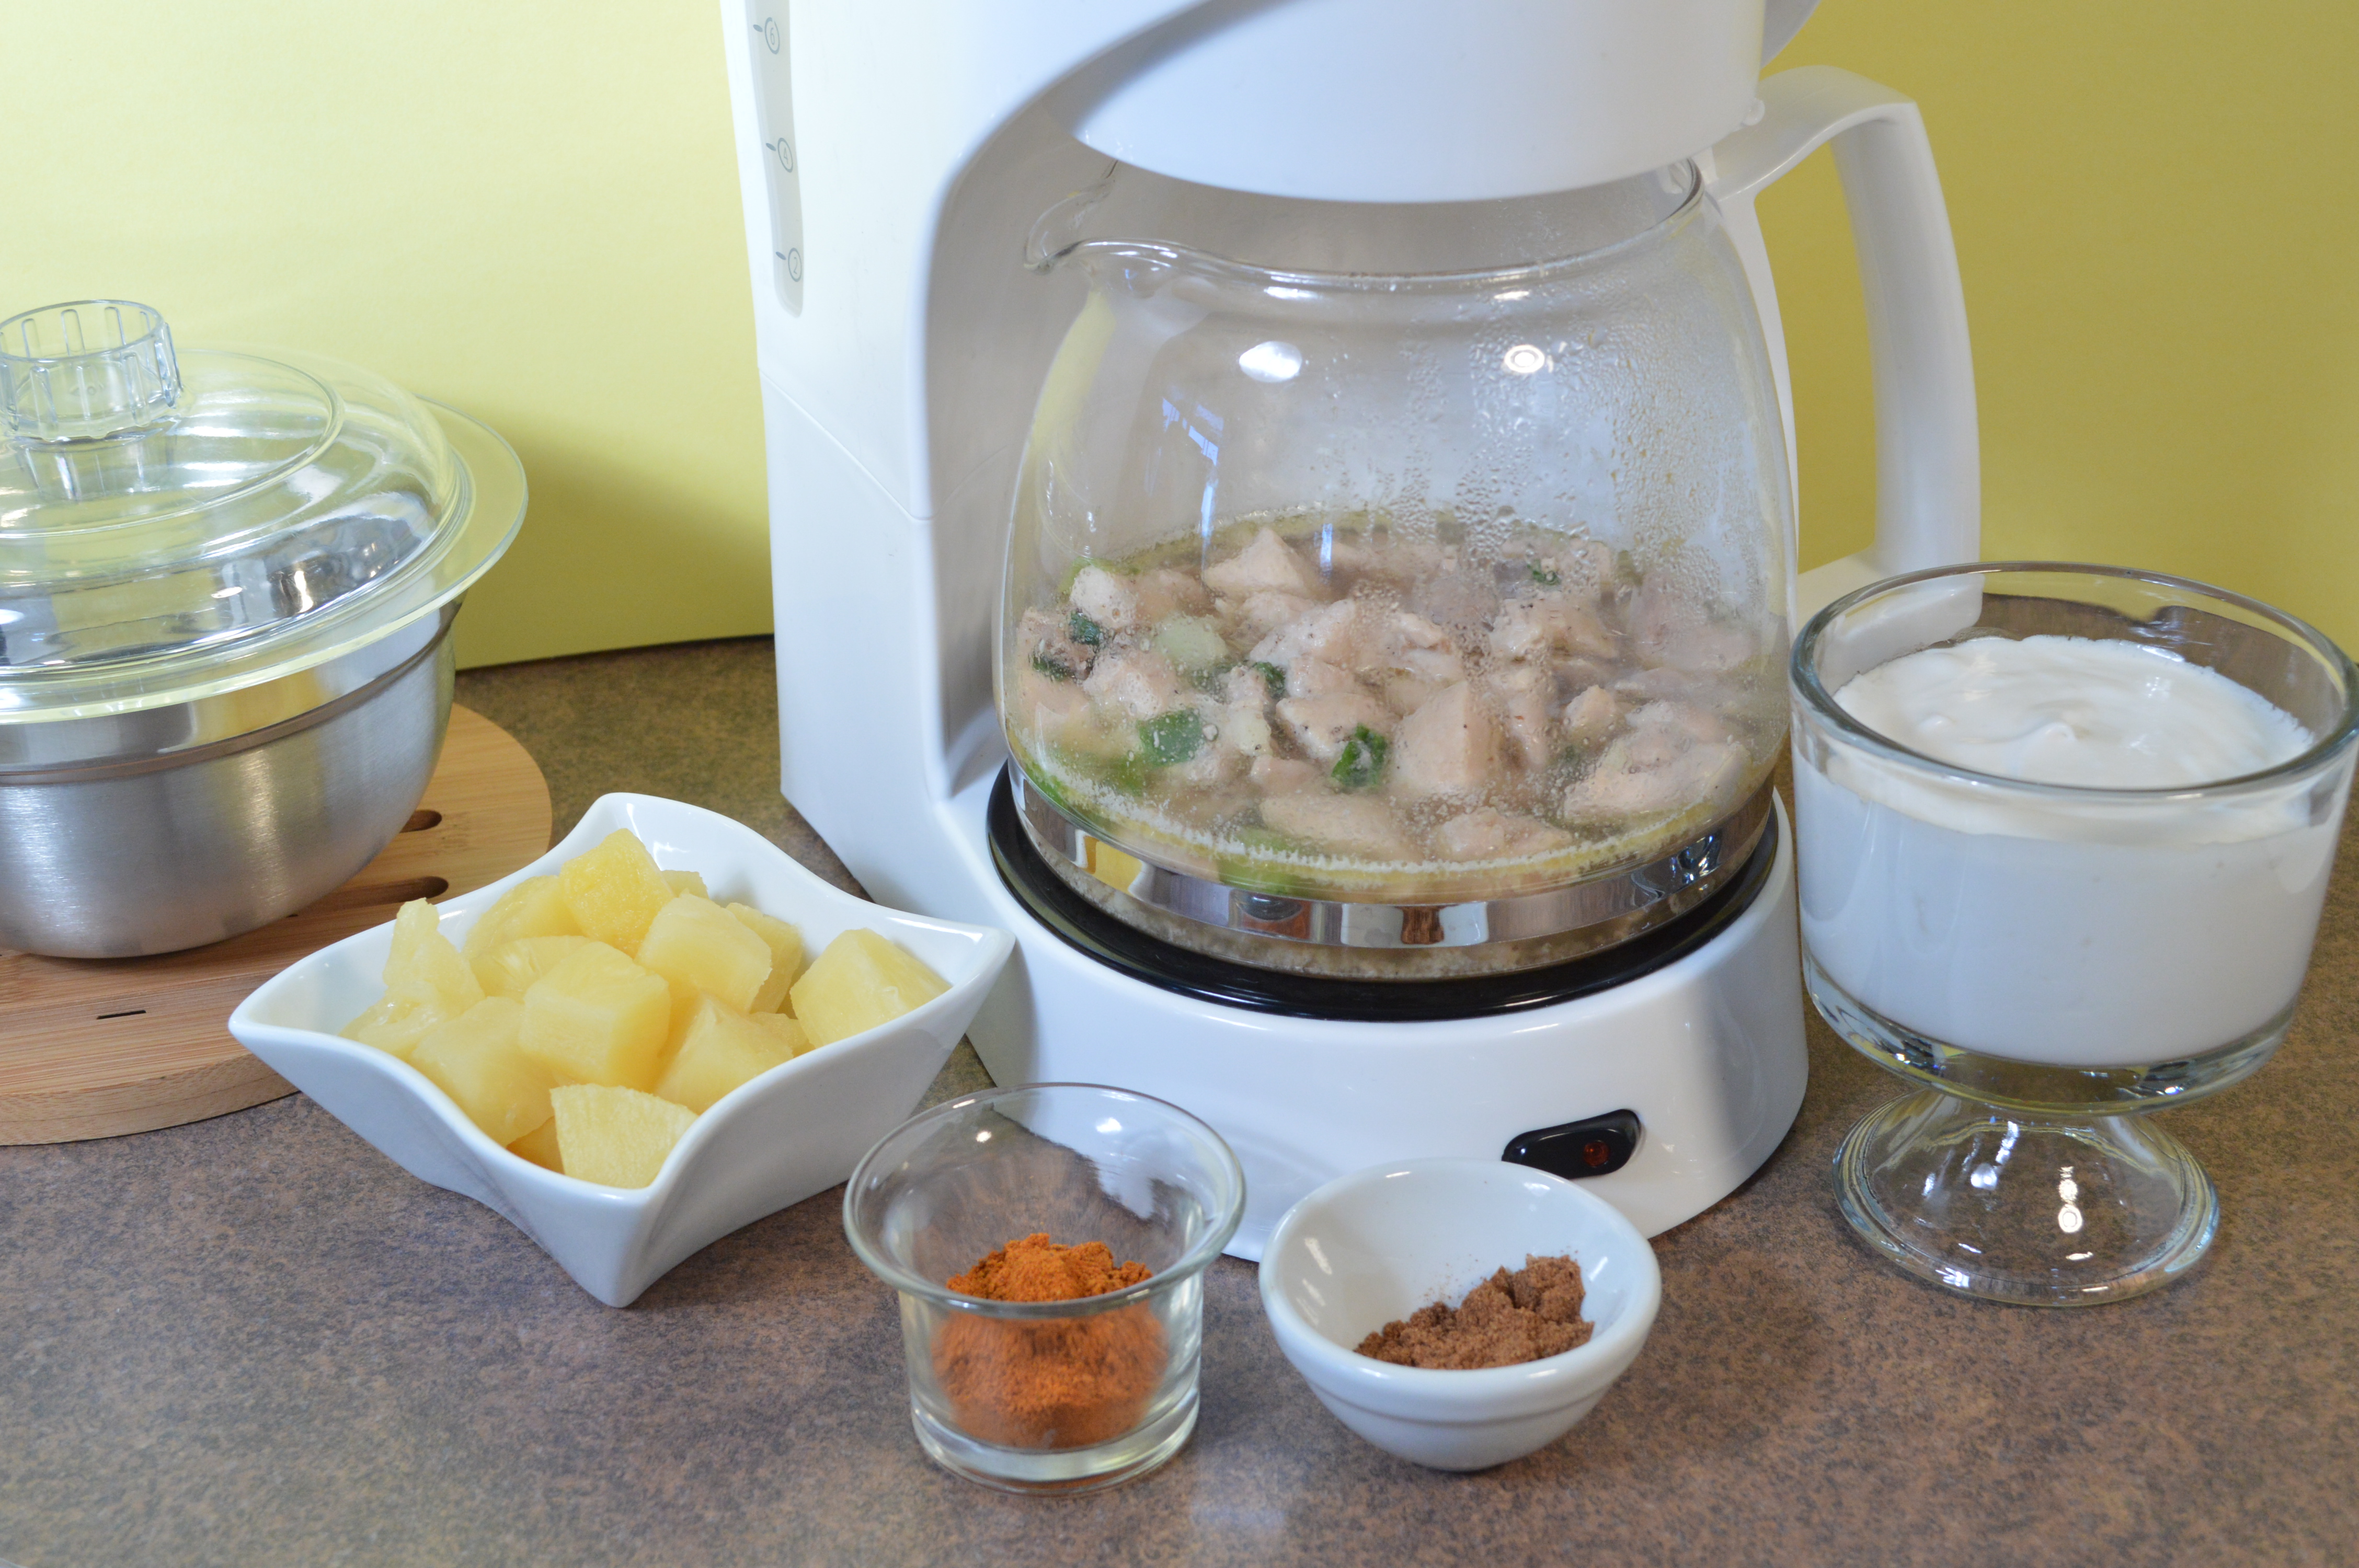
Carefully put the dogs into the pot (it will be hot), using plastic tongs, put the foil back over the top and put it back on the burner.
Warm for about 25 minutes


![ramen-md[1]](http://cookingwithyourcoffeemaker.com/wp-content/uploads/ramen-md1.png)