Making Soap, Make Something Special For Your Best Friend

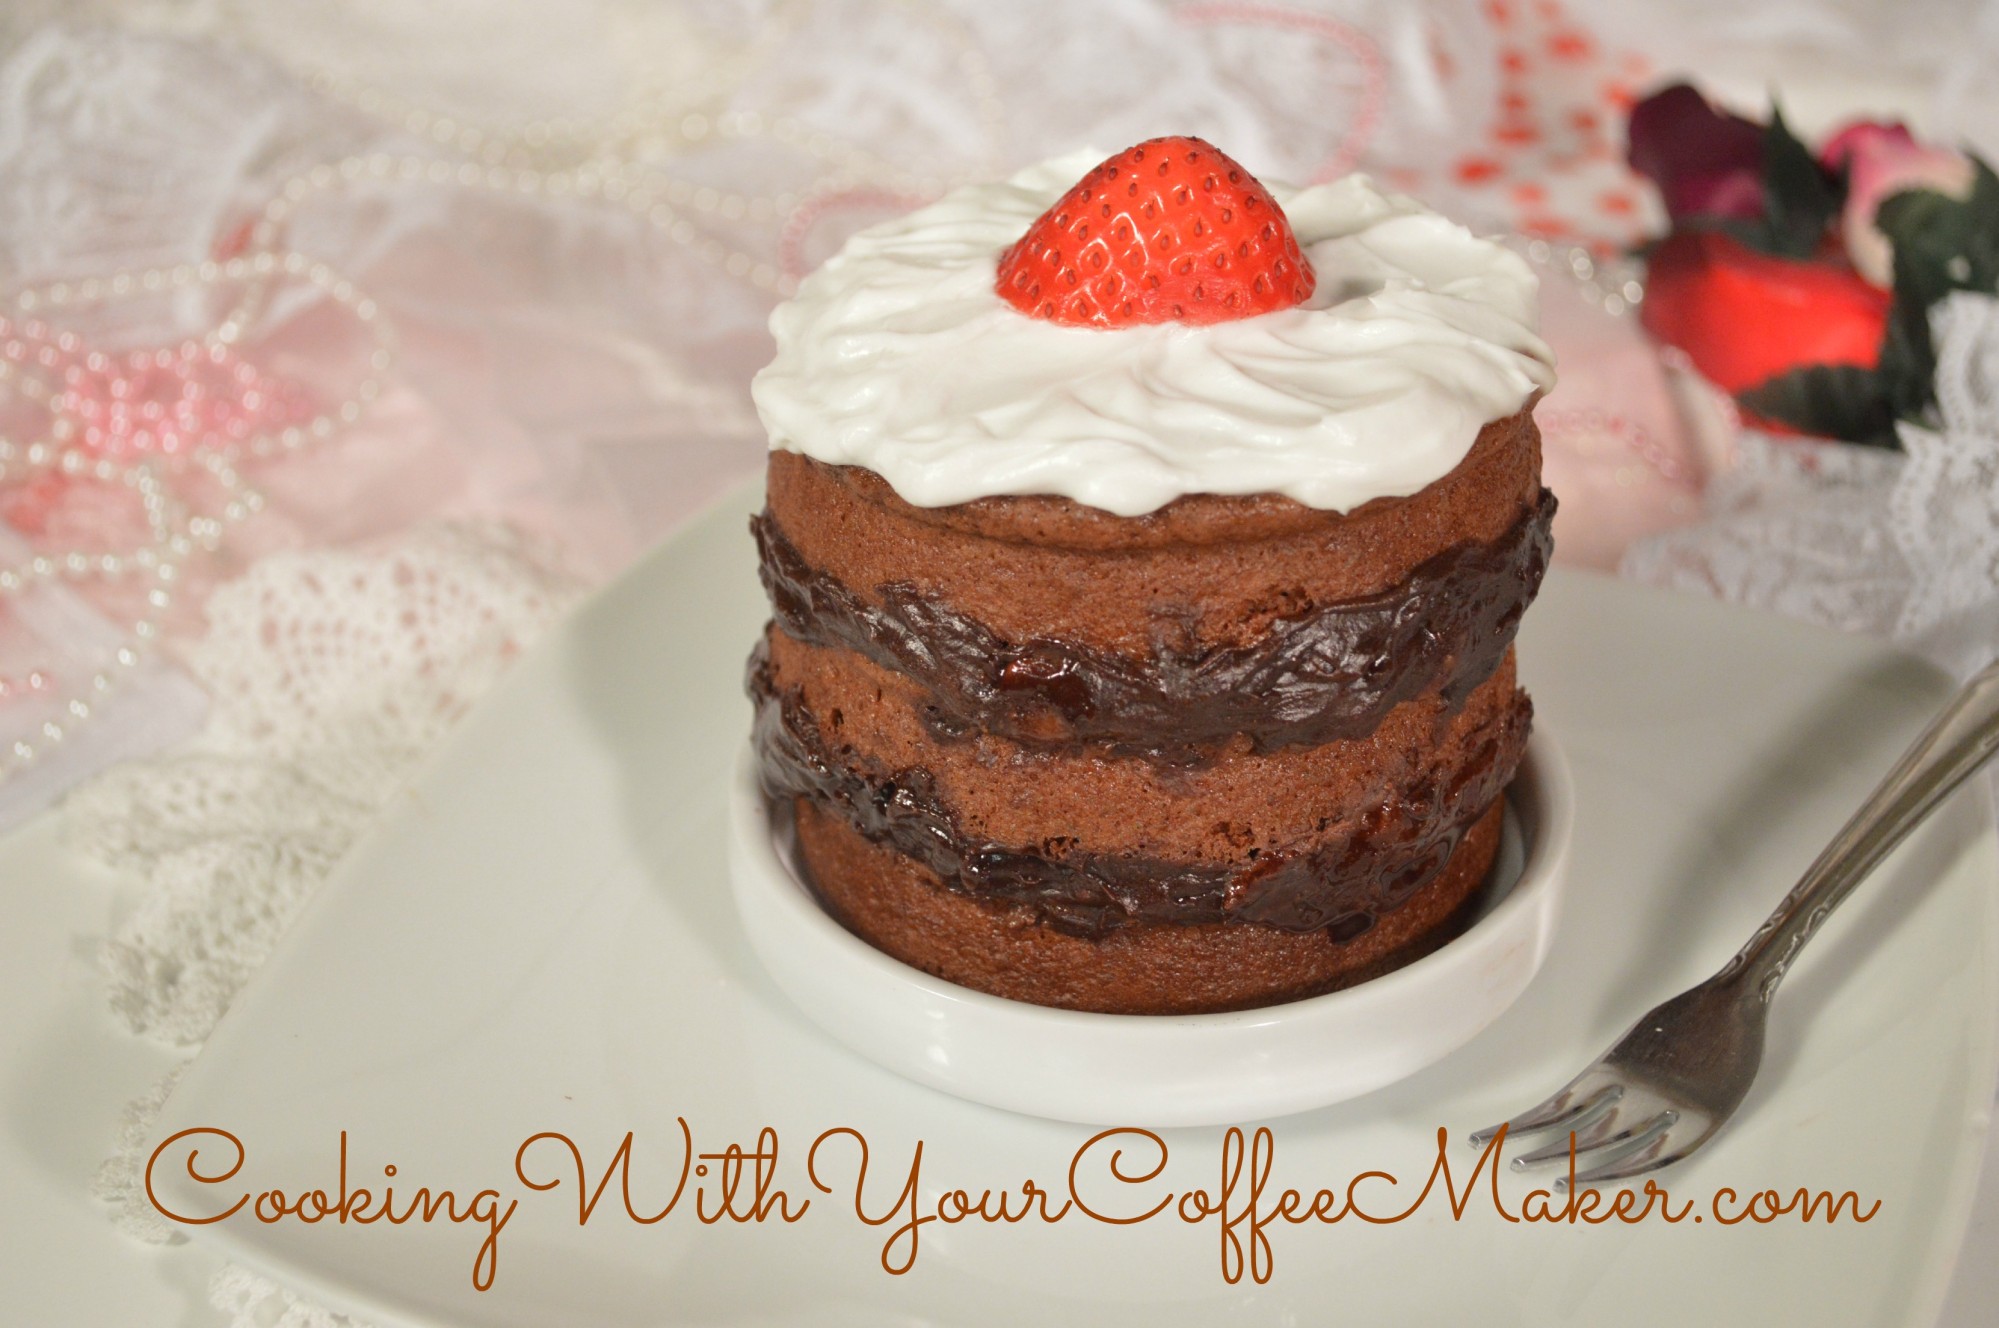
Melt and Pour Soap.  Yep, it’s true. Now you can craft with Your Coffee Maker.

Make something Special for Your Best Friend this Valentine’s Day.
Melt and Pour Soap is easy to work with and works great with a coffee maker because it doesn’t need high heat.
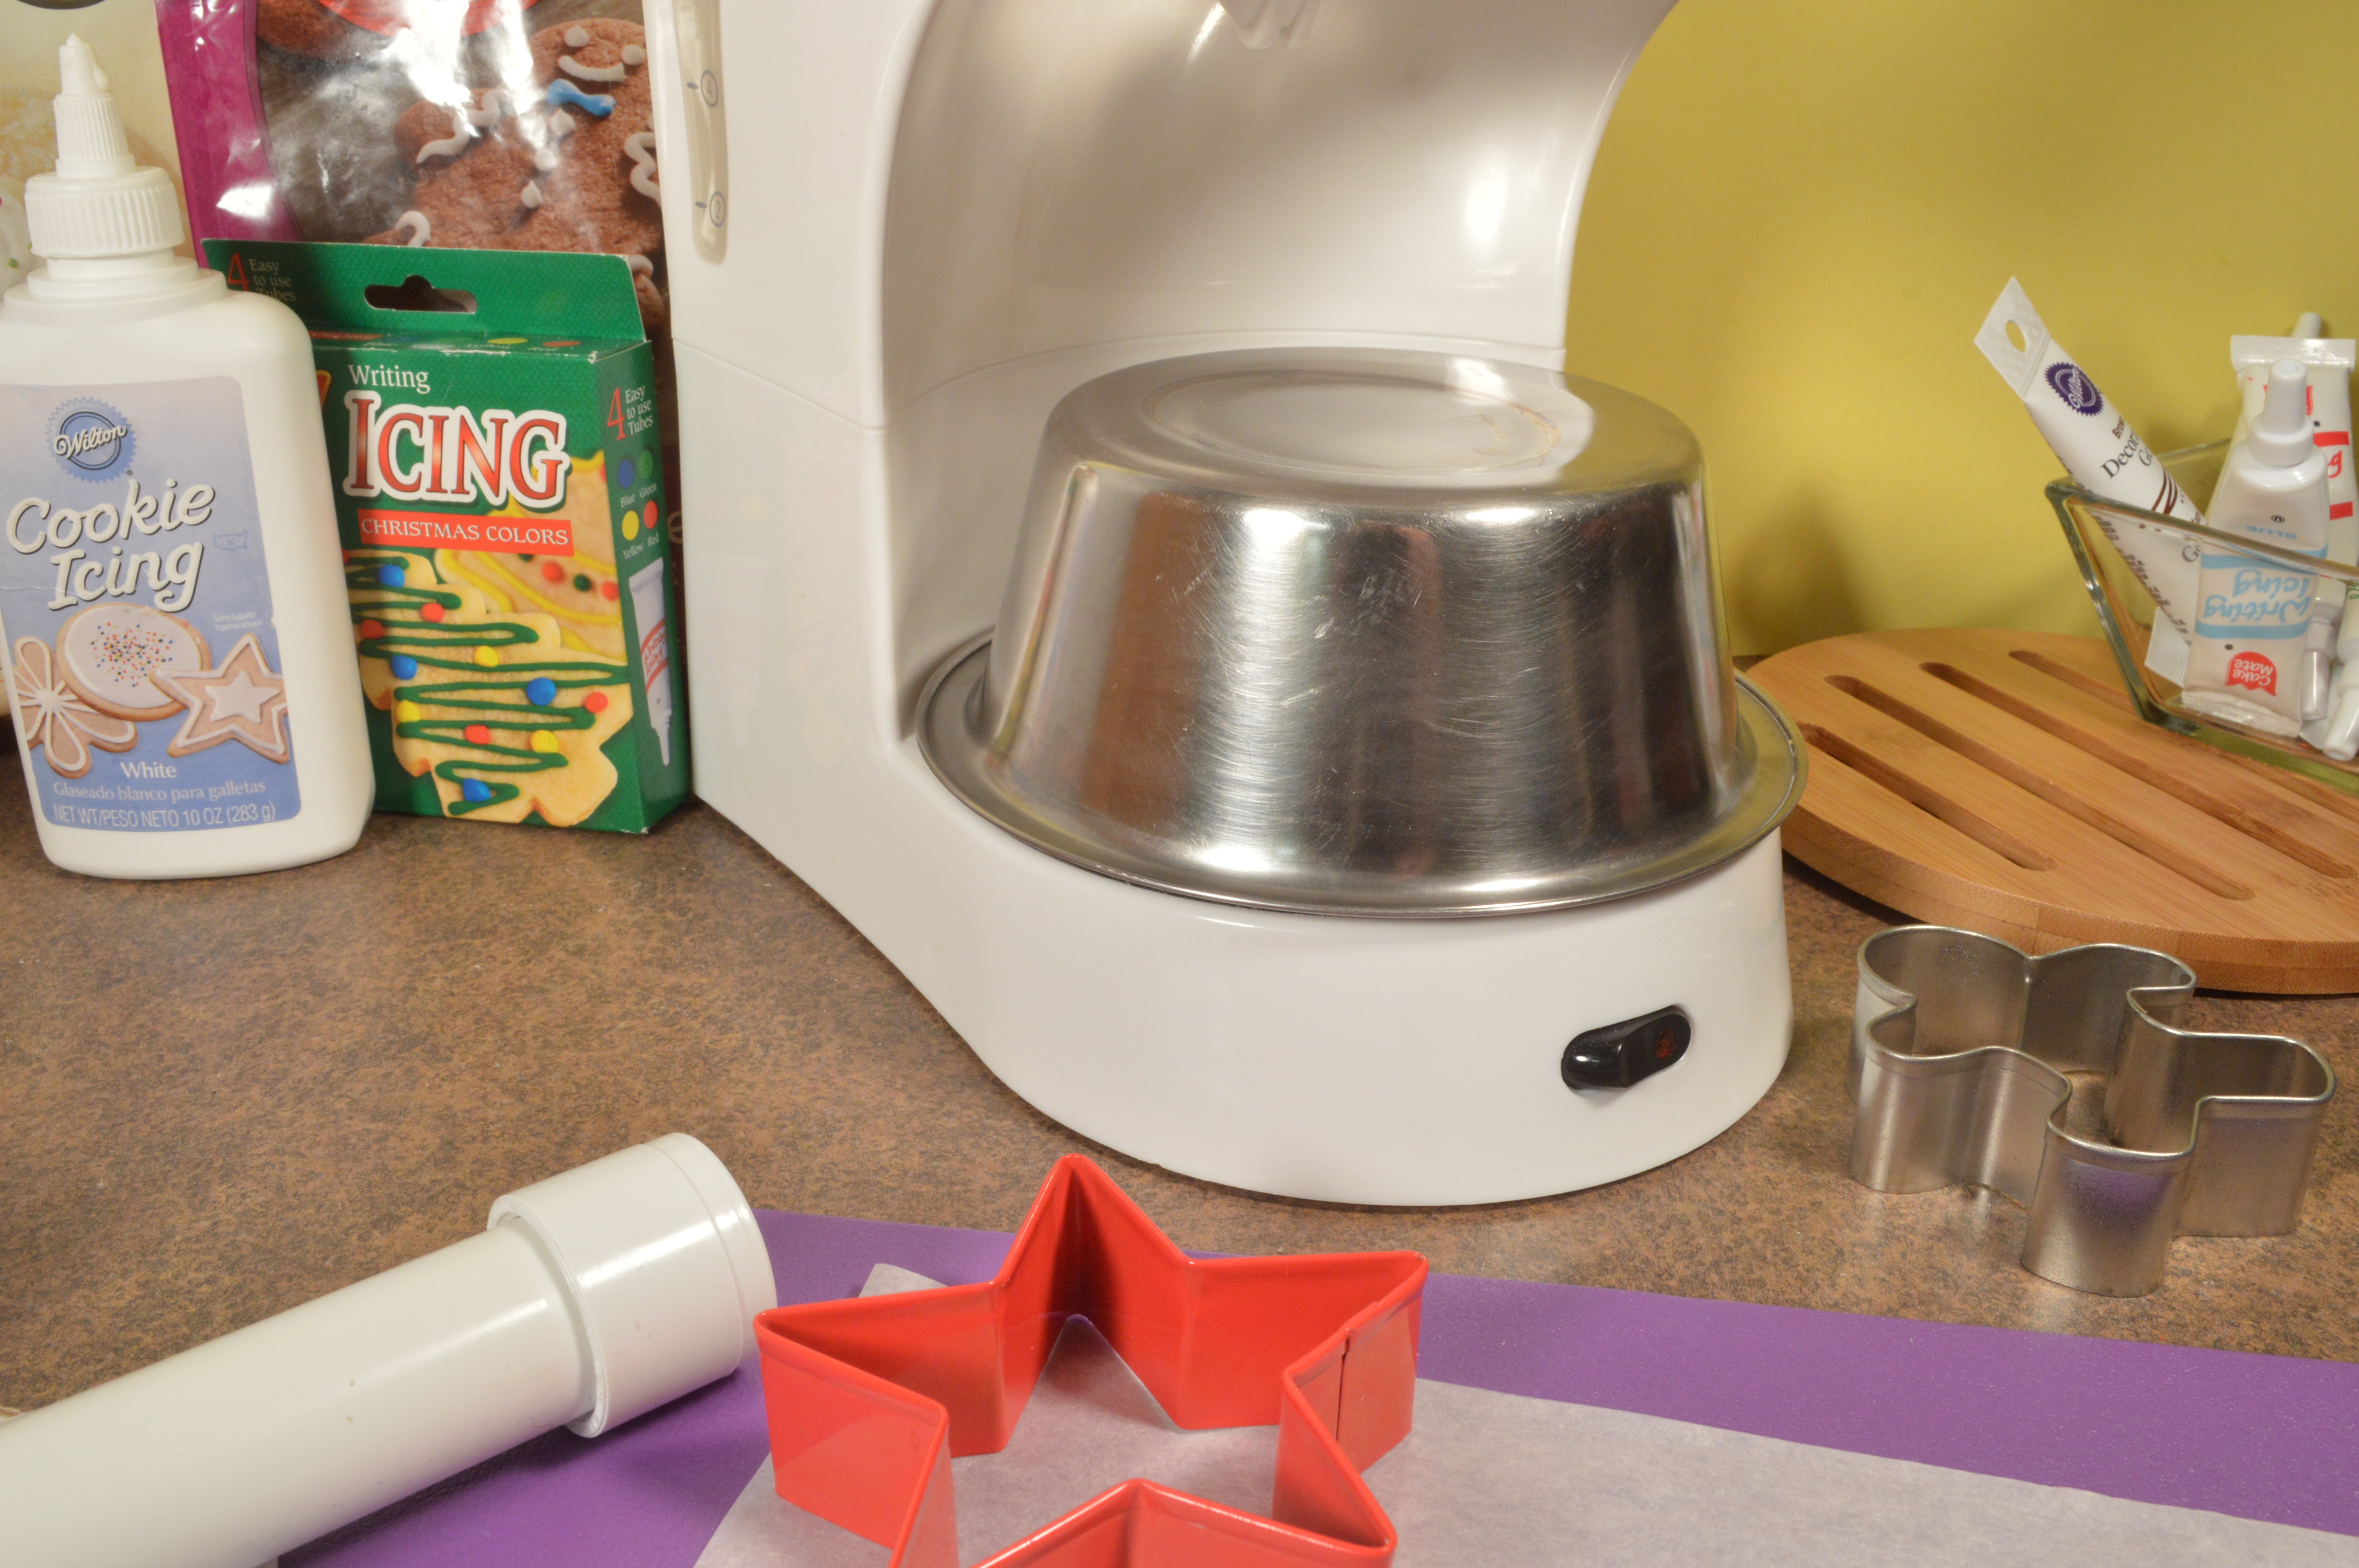
Soap 073

What you will need.

  • a bowl and a pan to create a double boiler
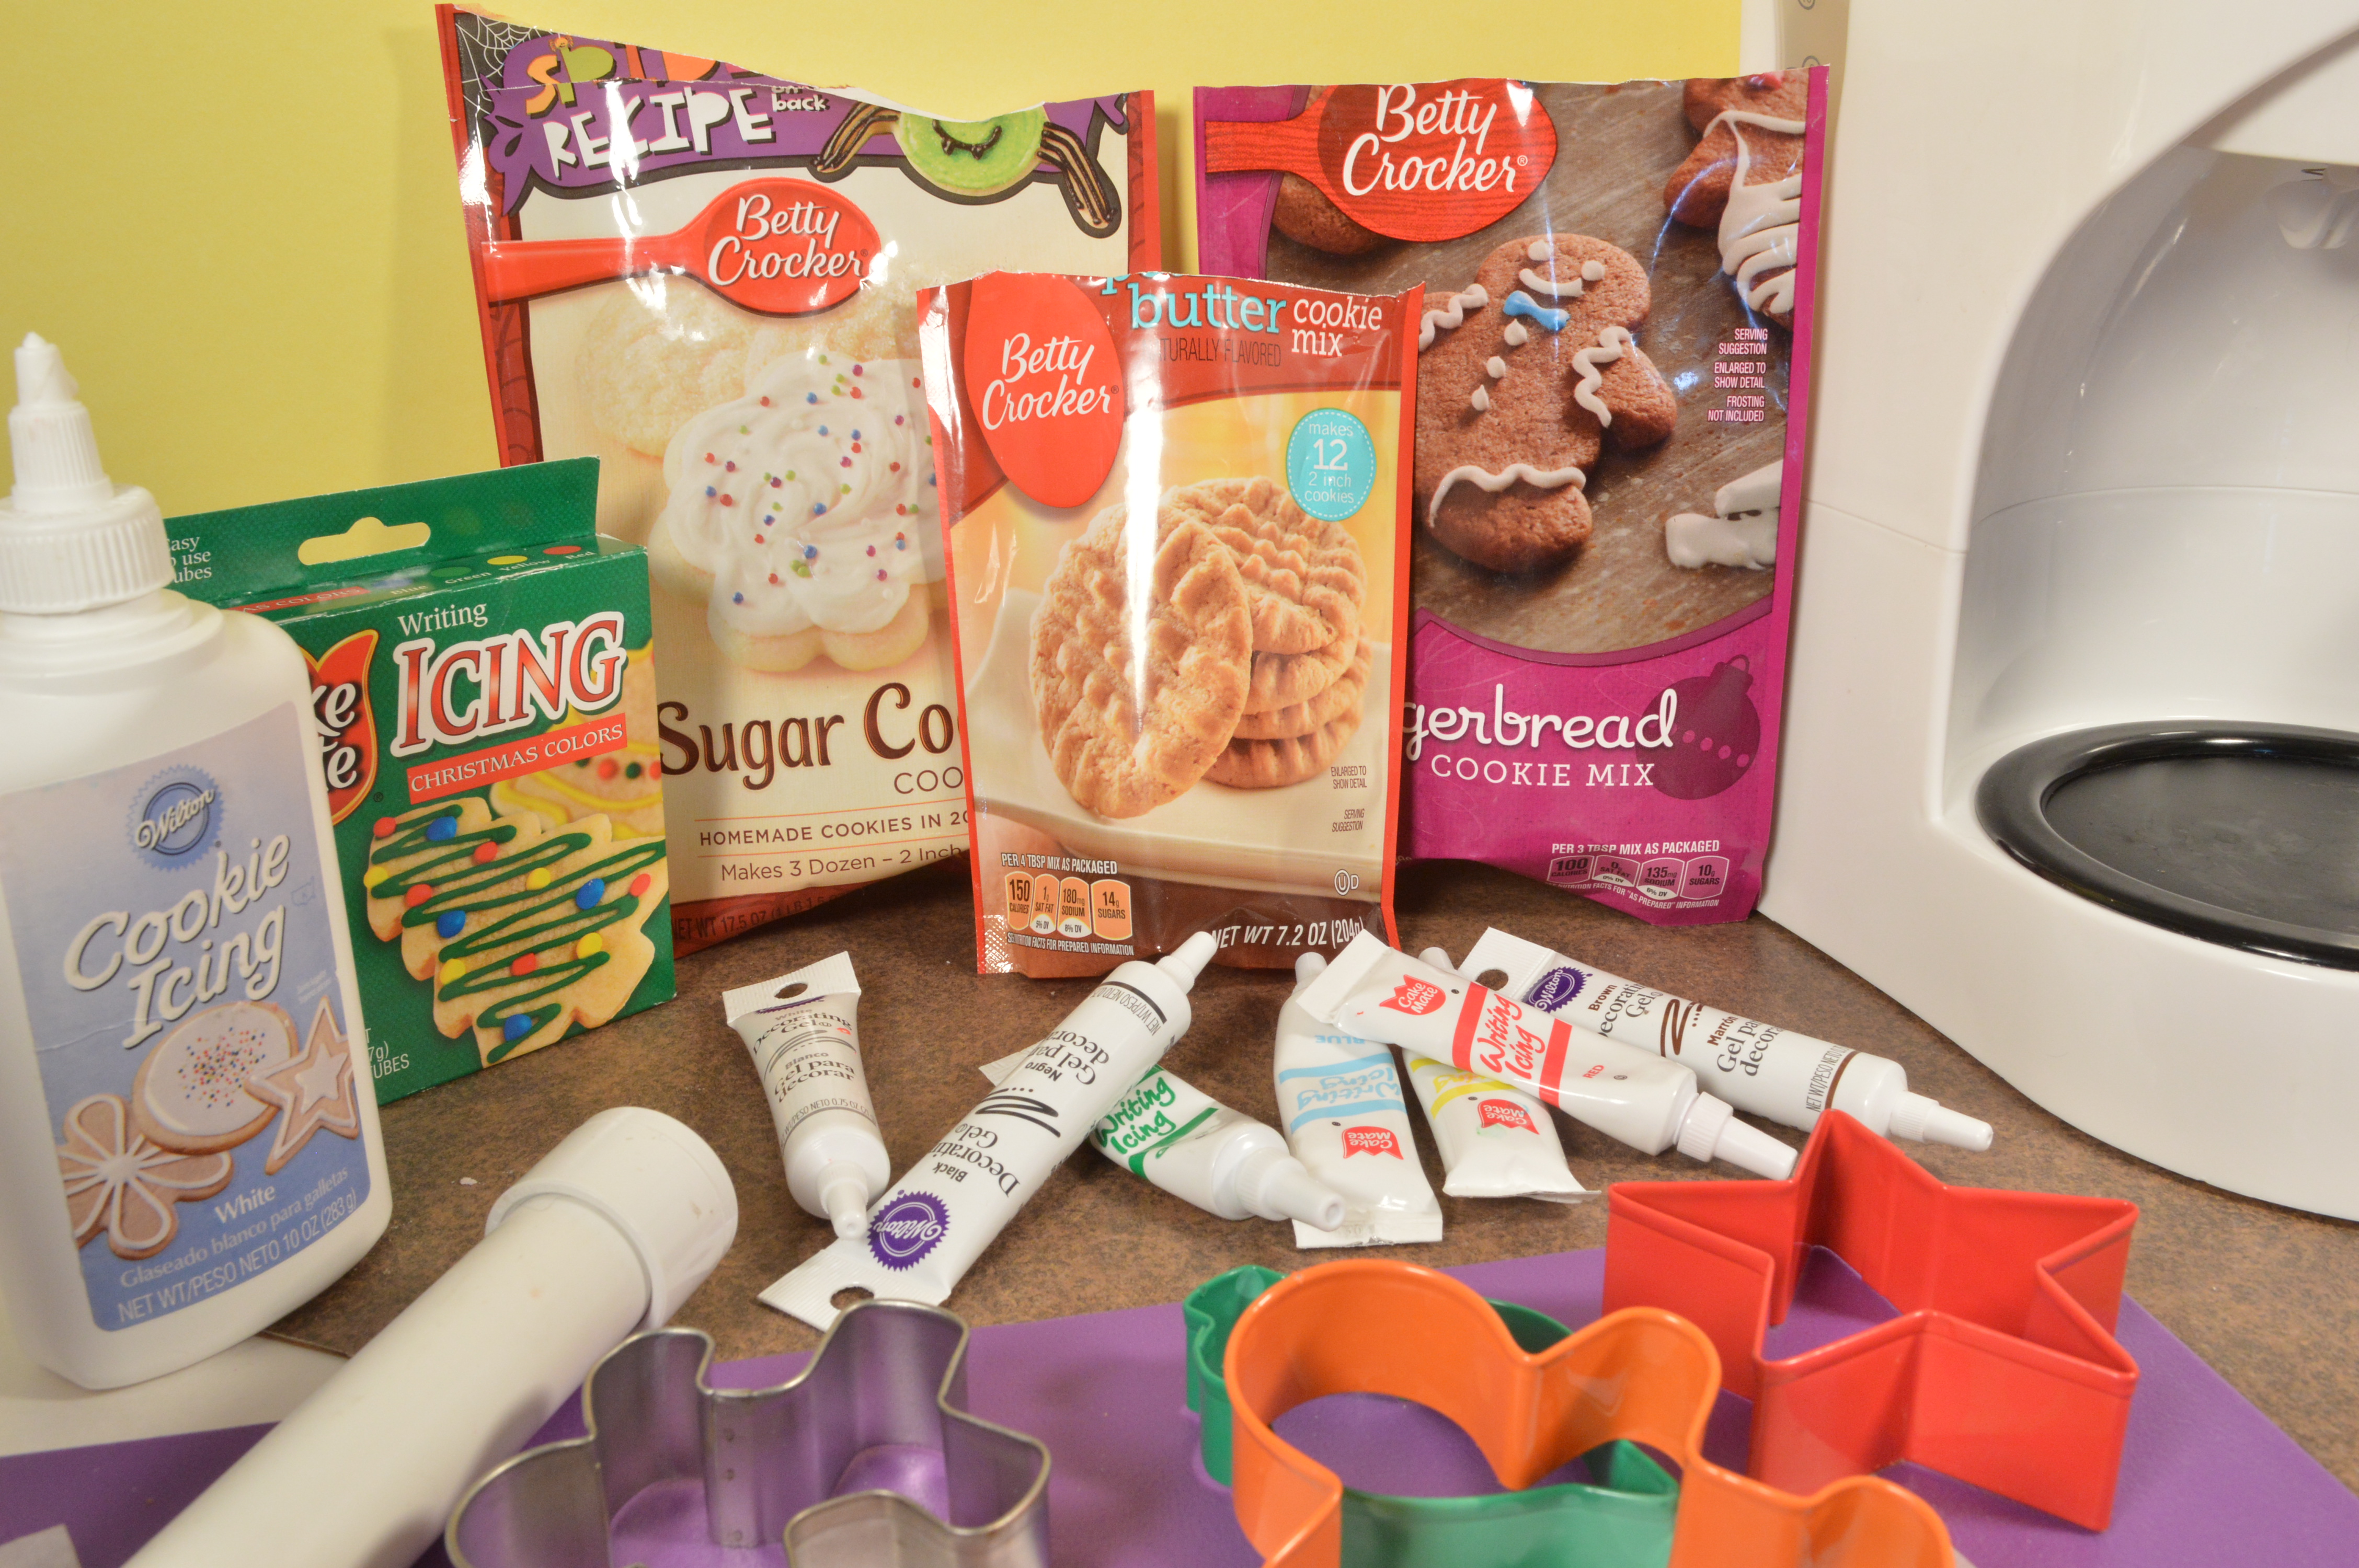
  • a block of Melt and Pour Soap
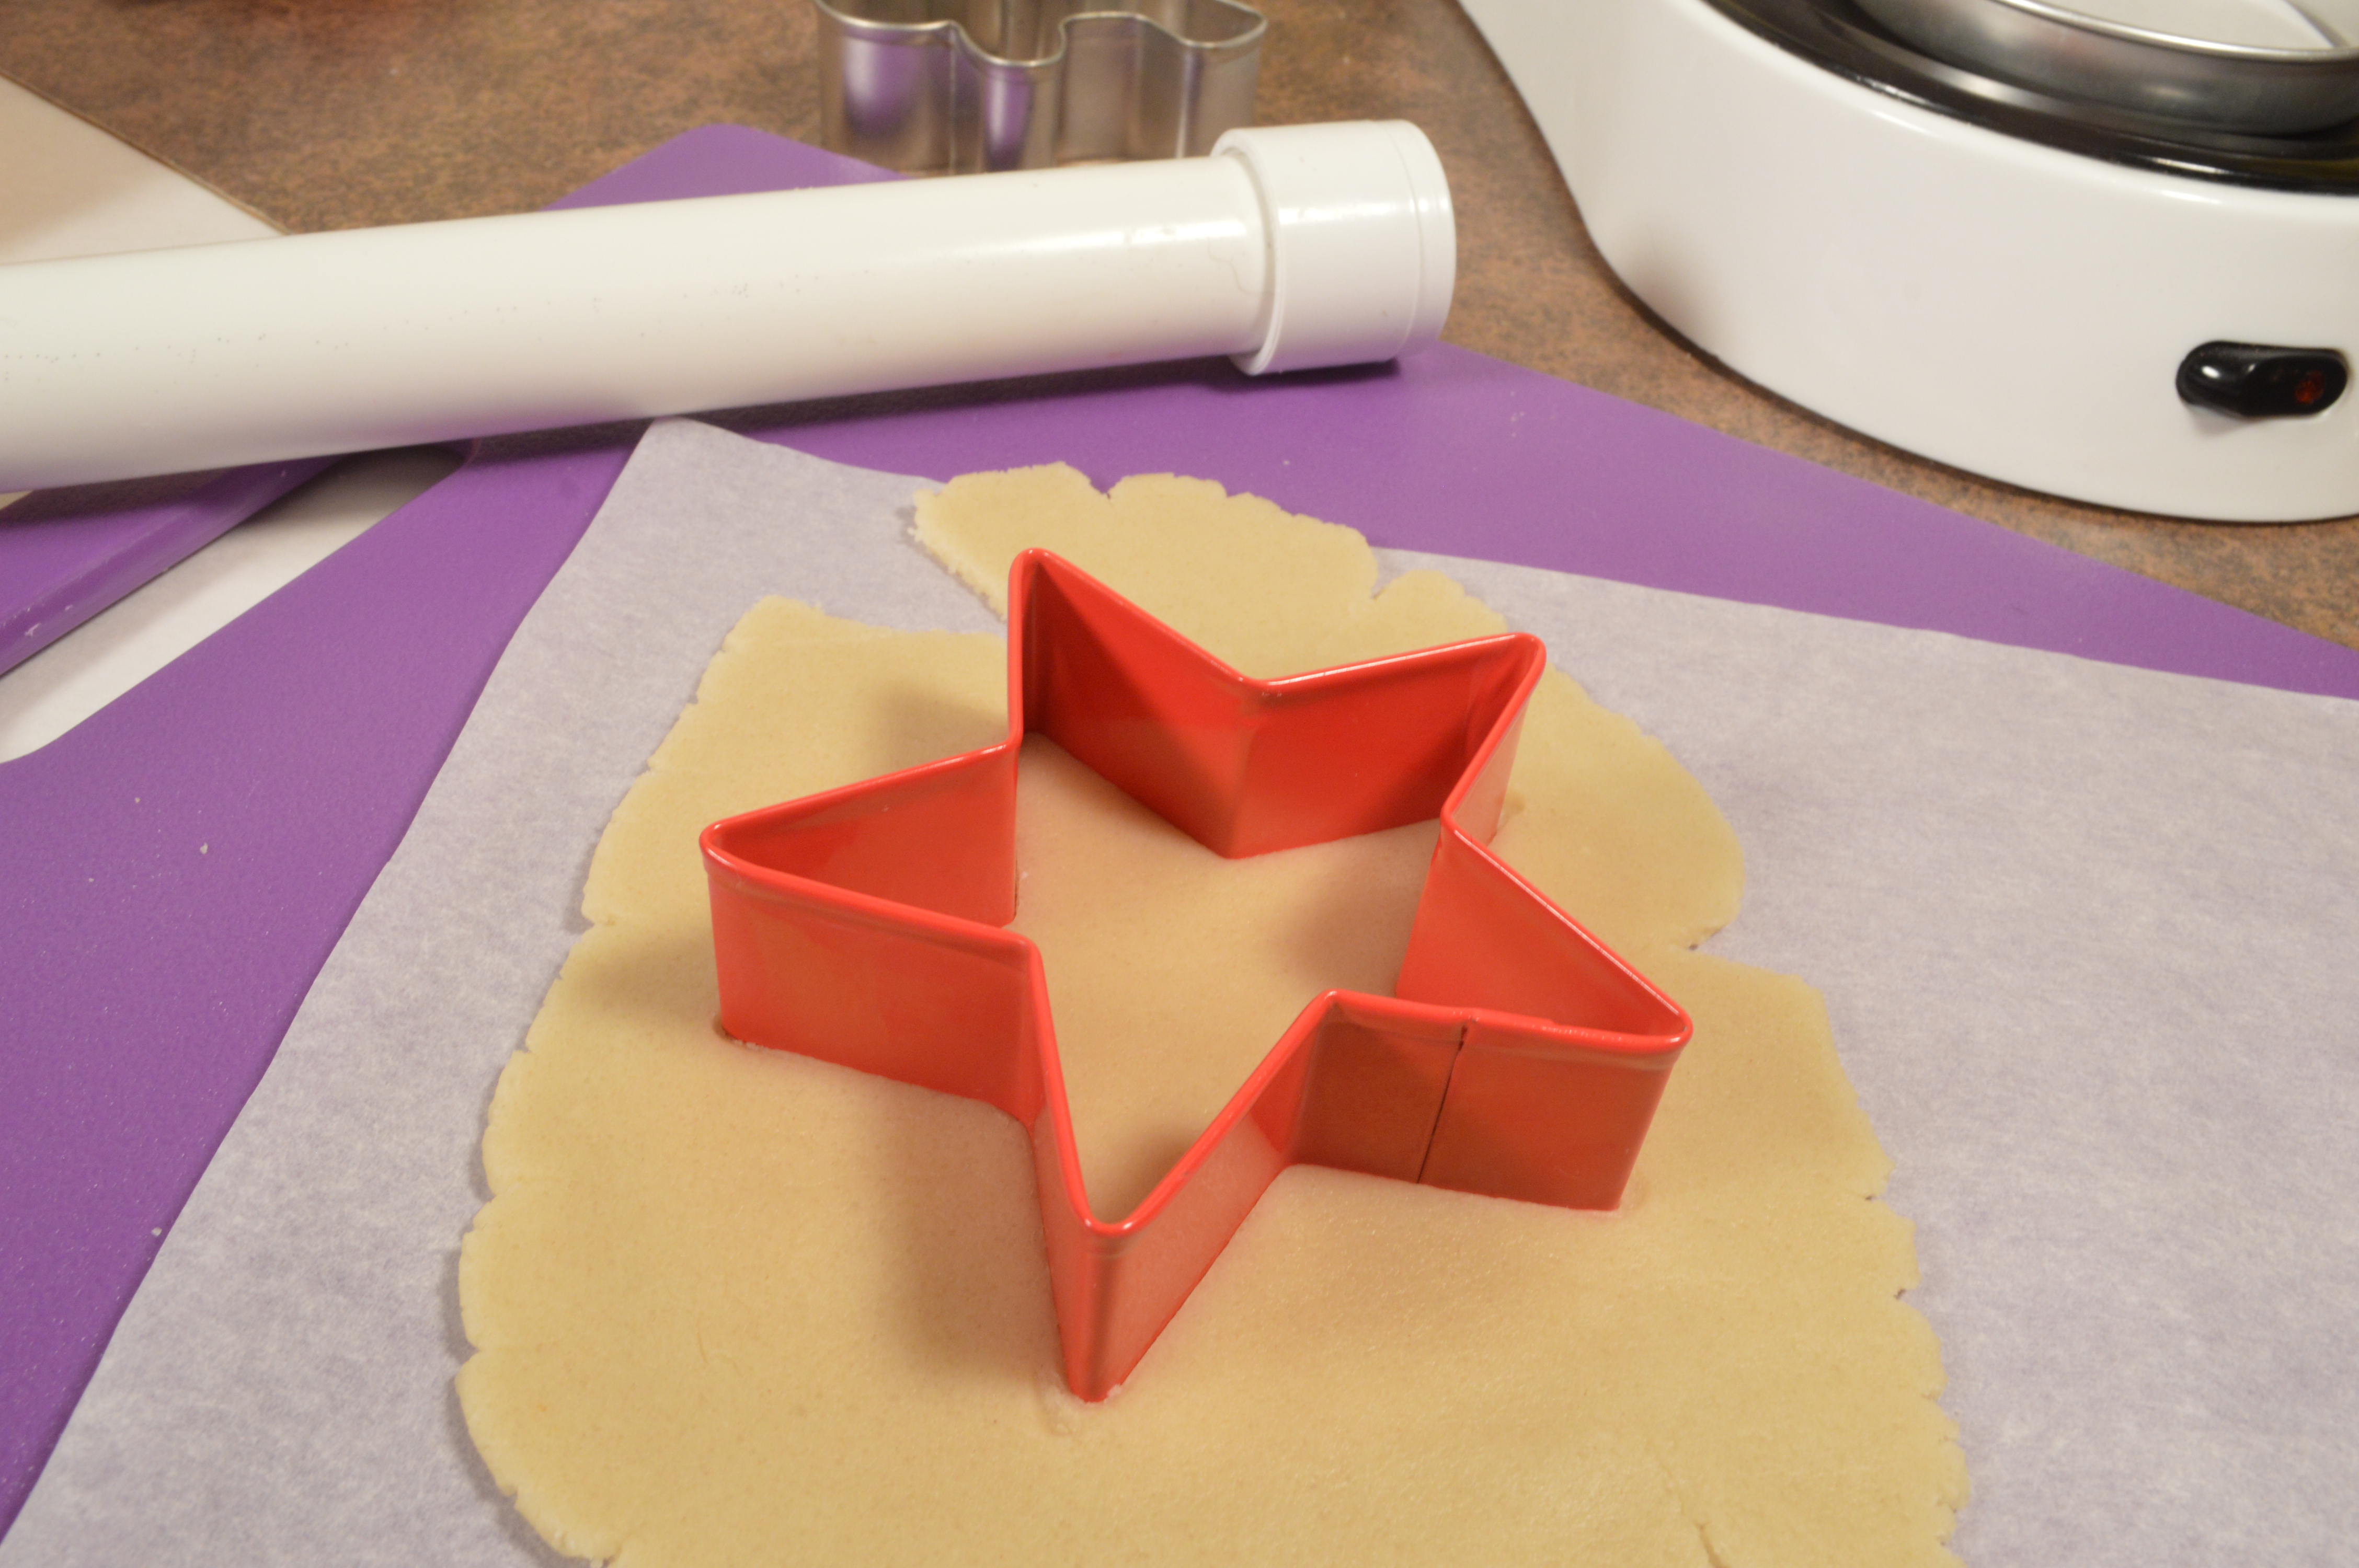
  • soap mold
  • coloring and essential oils, optional
  • knife to cut the soap
  • spoon or chop stick to stir

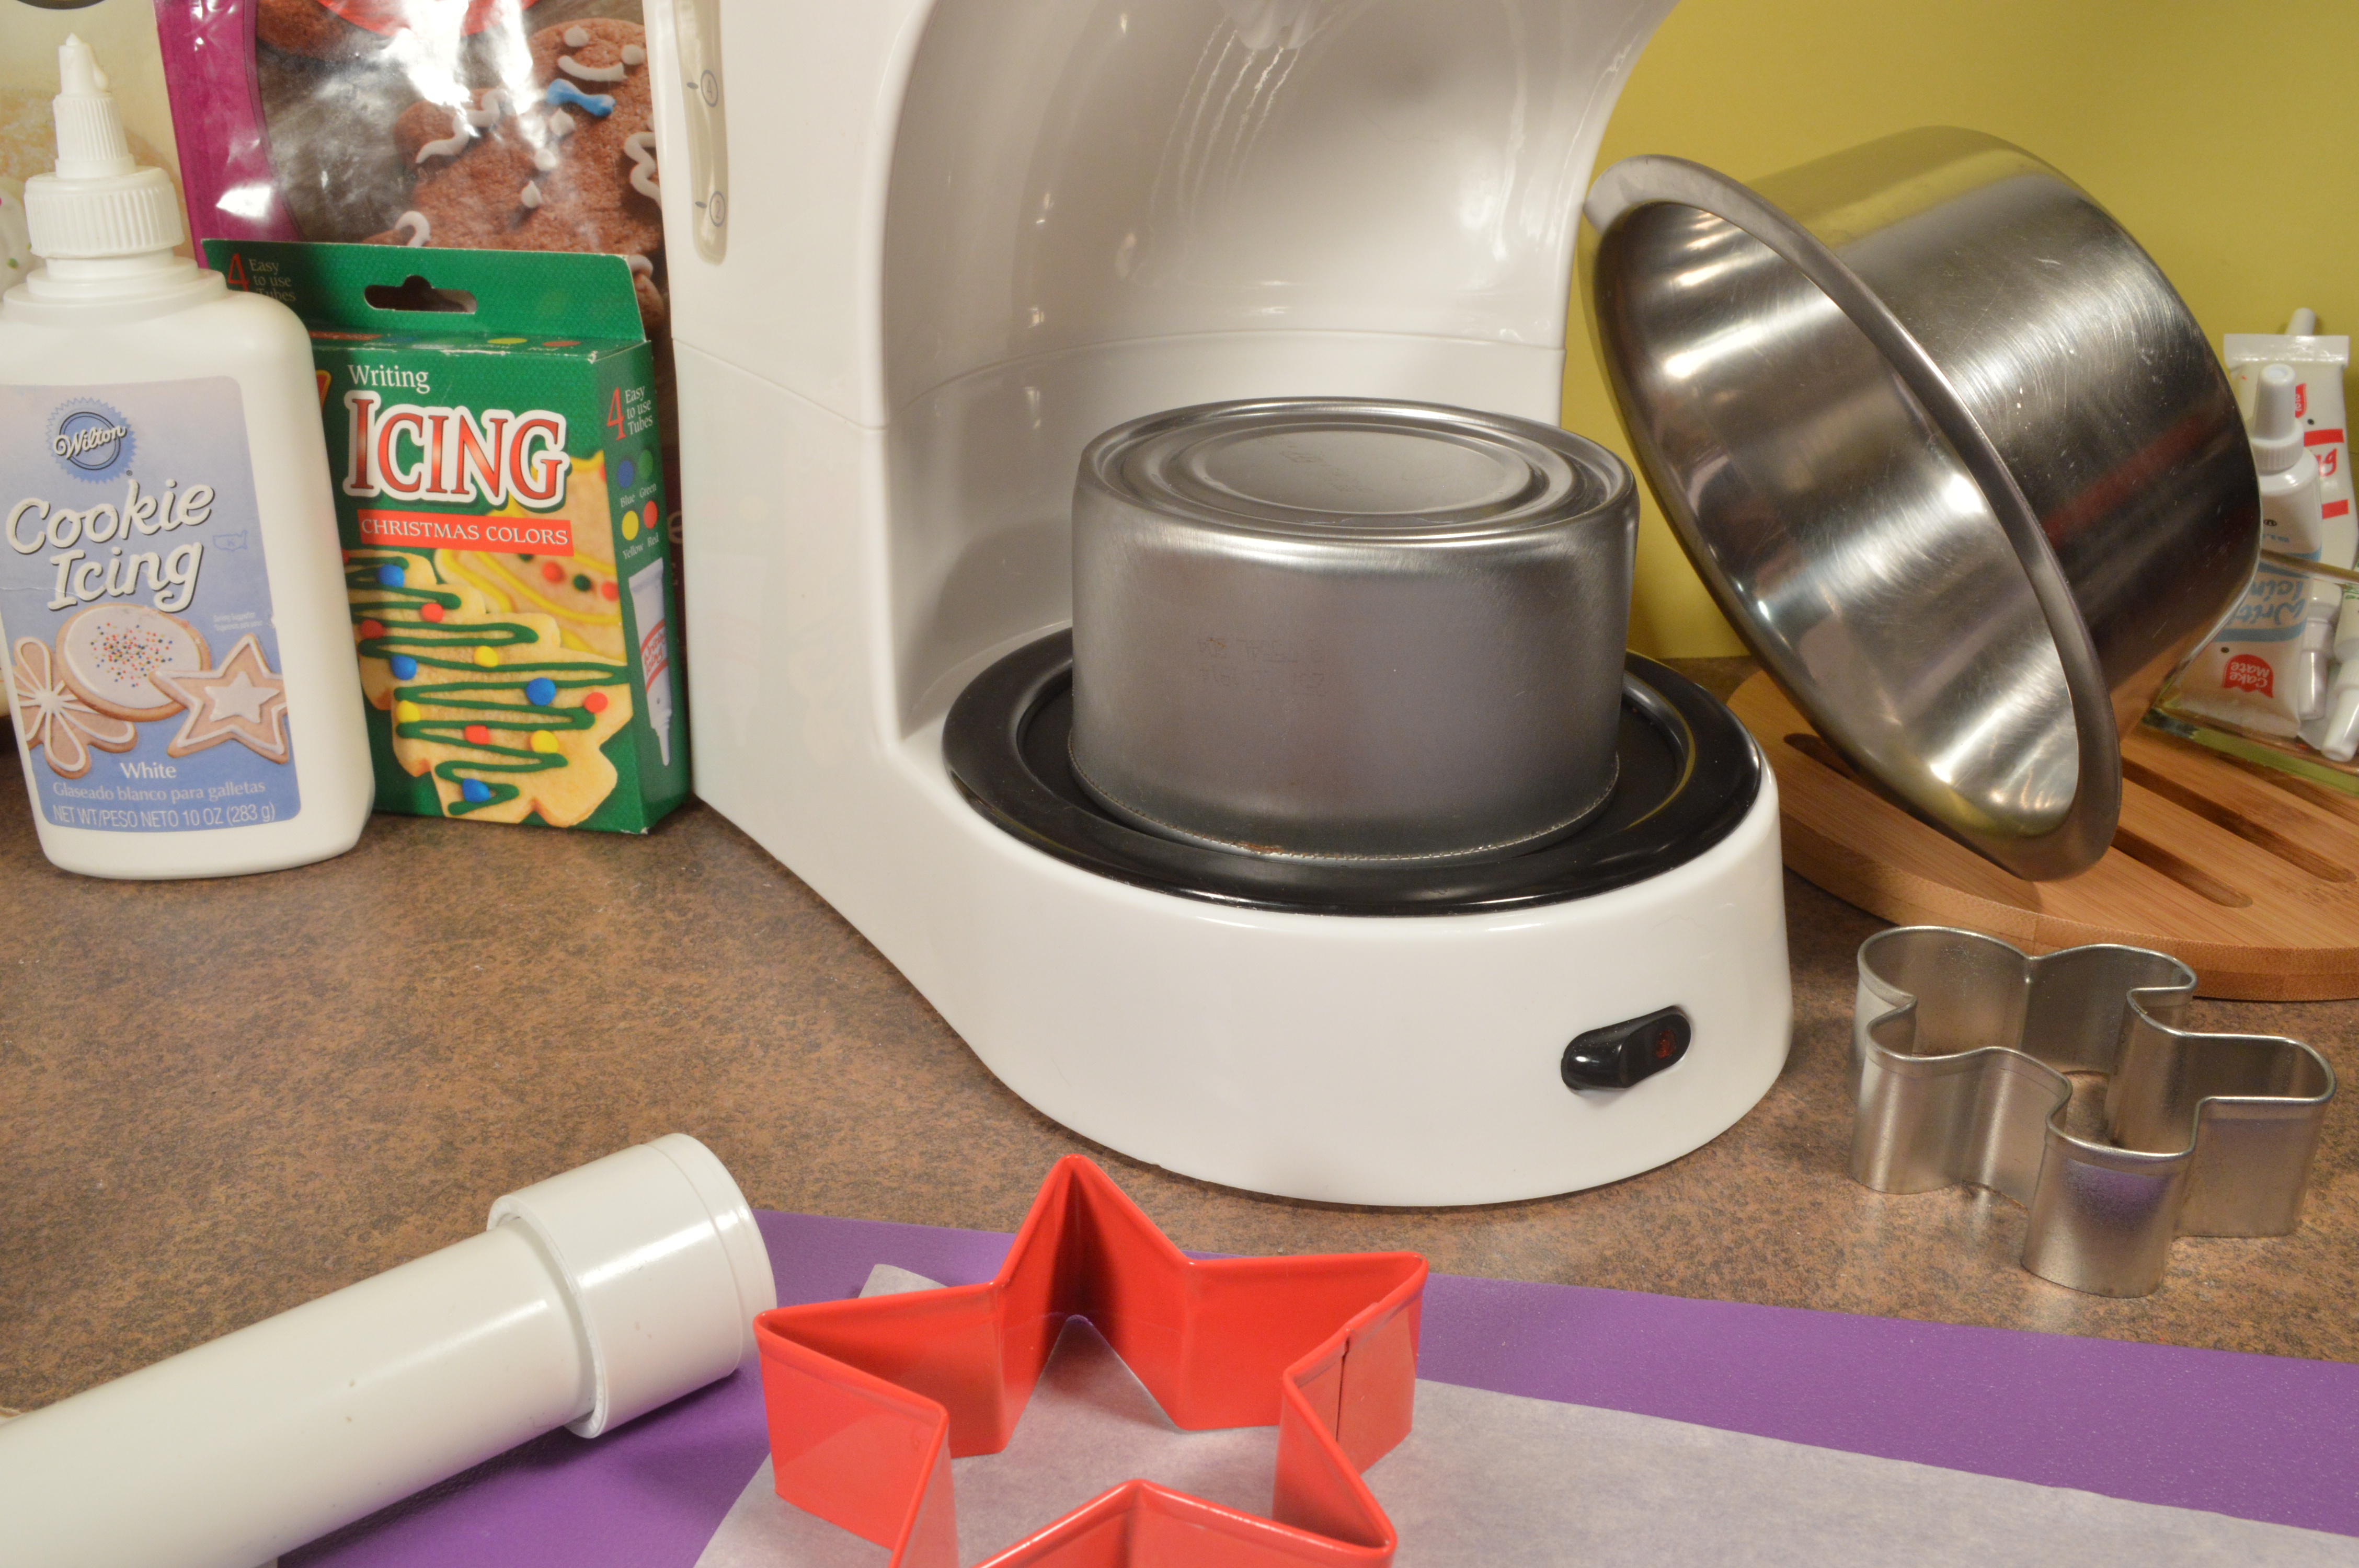
You will need to create a double boiler to melt the soap.
A double boiler consists of a metal bowl placed on top of a pan of simmering water. The bowl should not touch the simmering water.

Directions

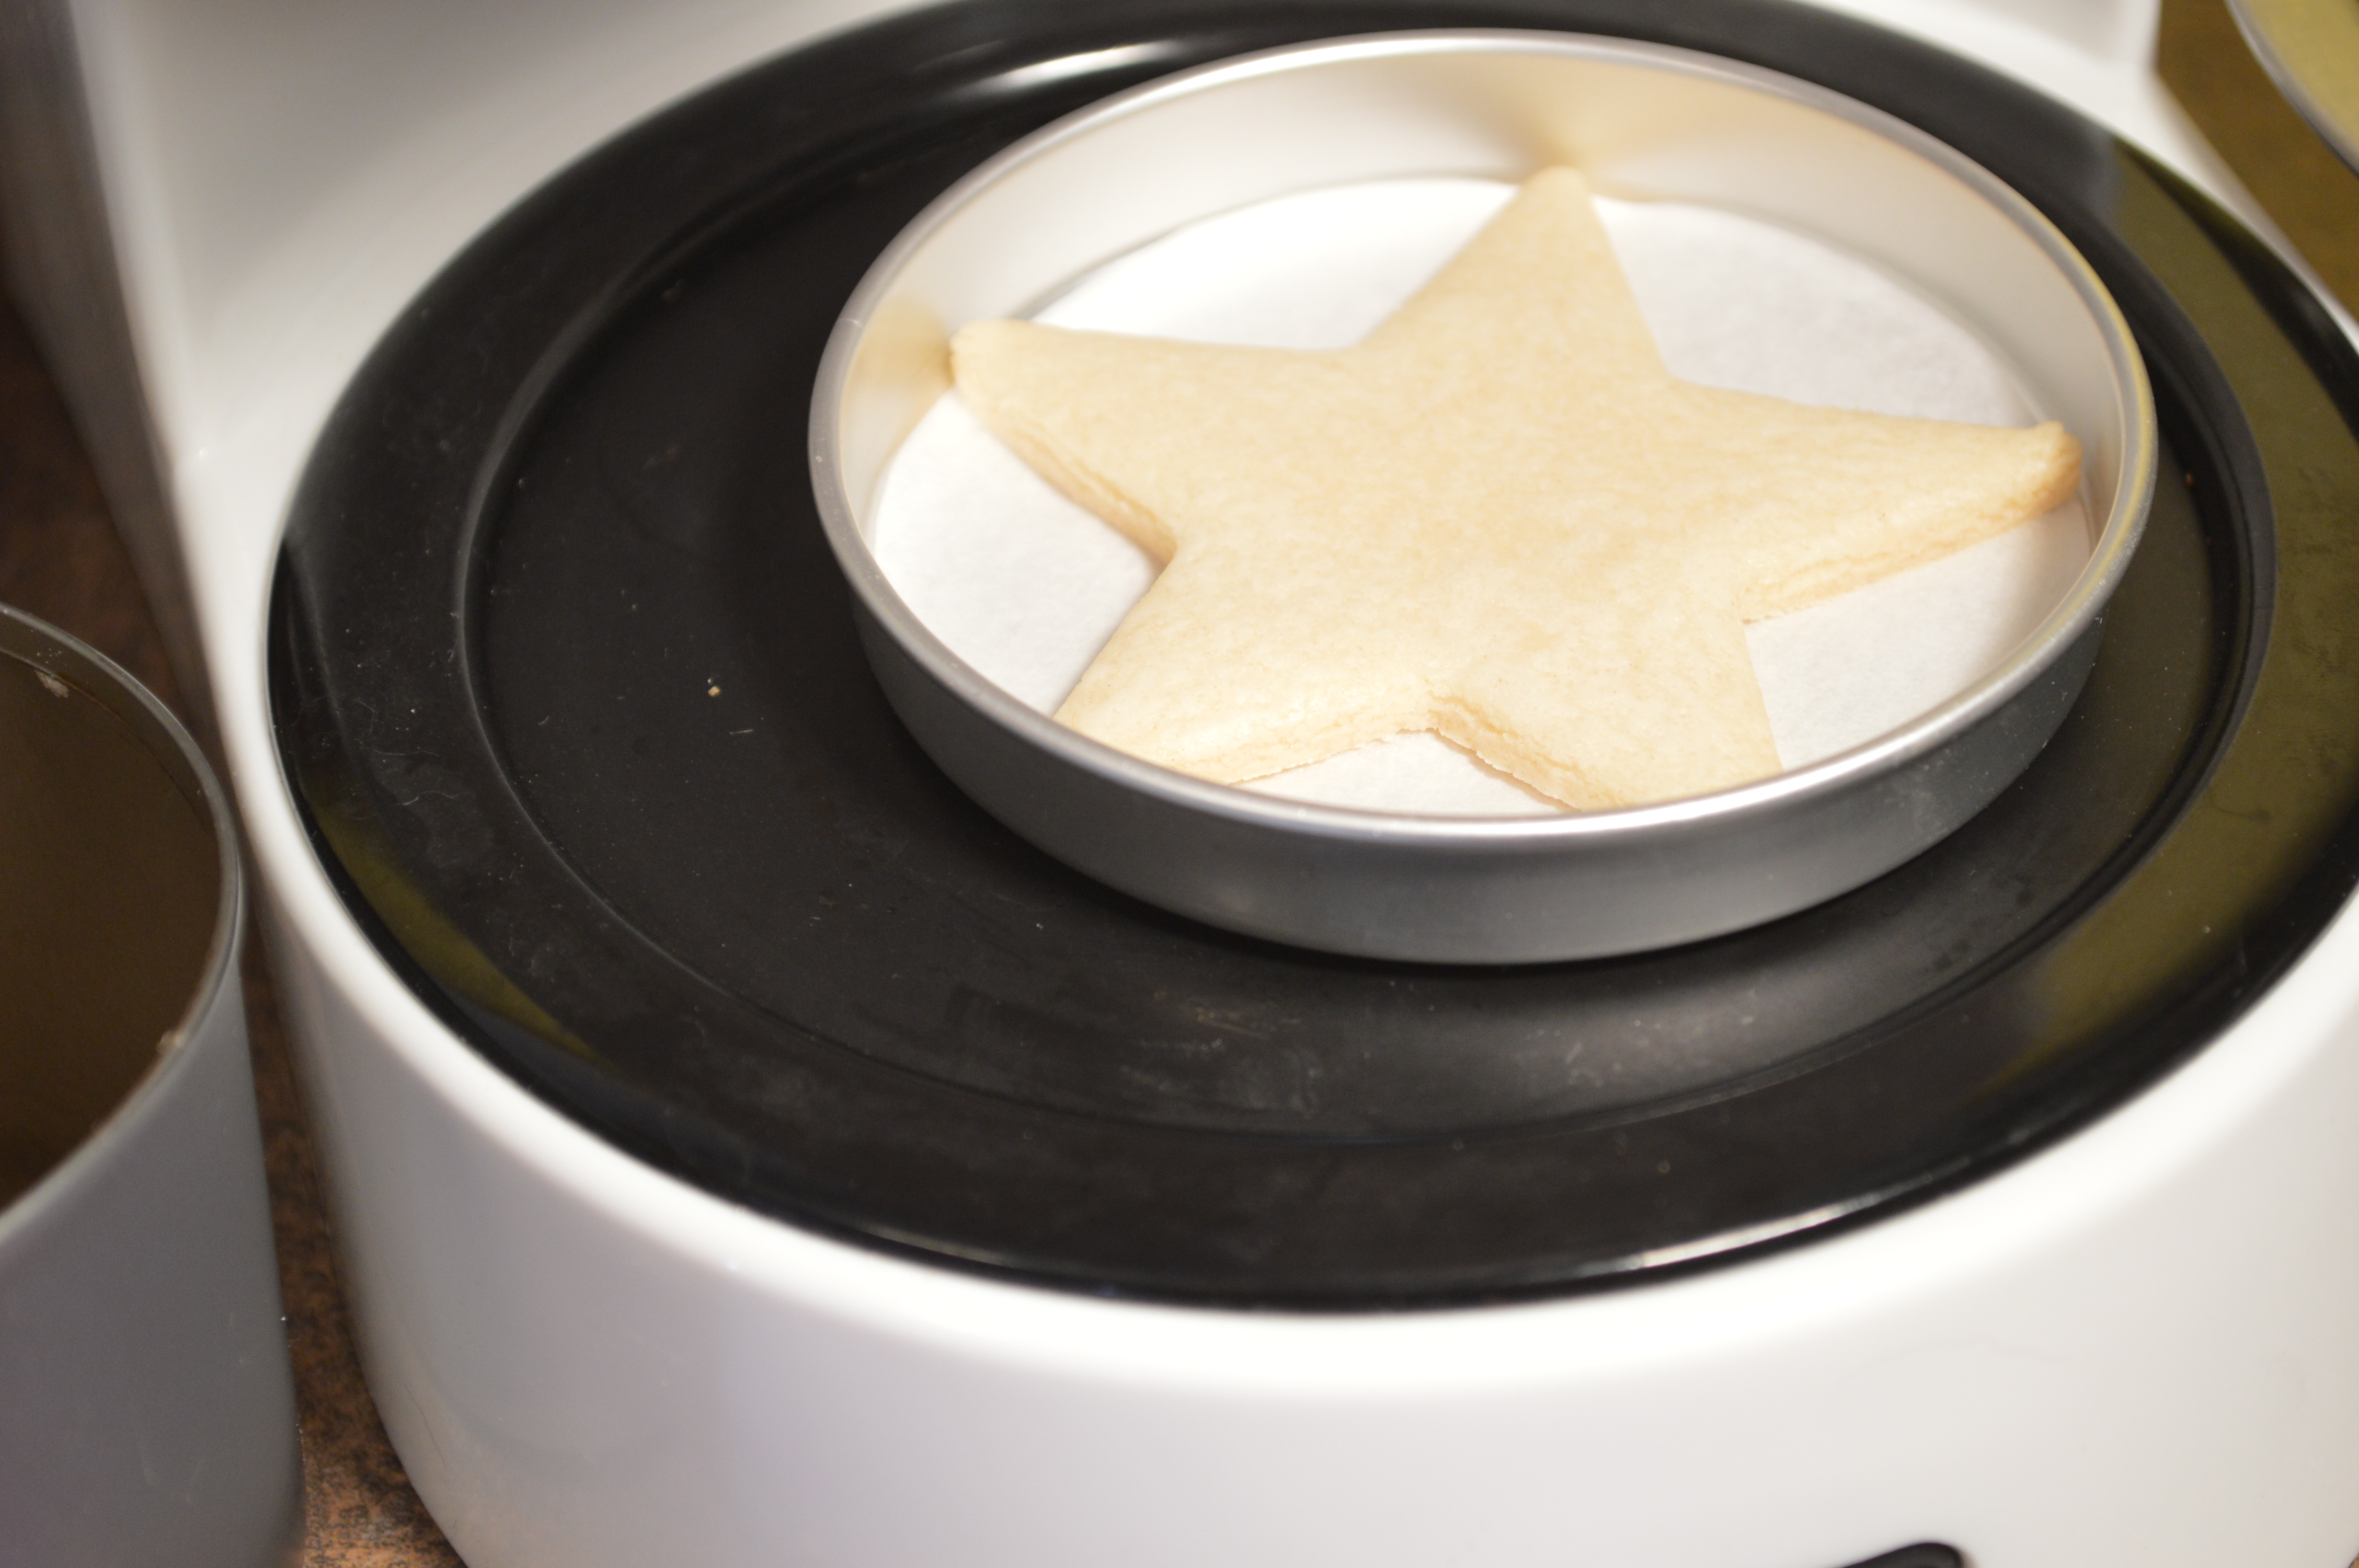
Pour 1/2 cup water into the reservoir.
Put your pan on the burner, turn on the machine and let the water drip into your pan.
Cut up your soap into small pieces or shave it off the block.
Put the soap in the bowl and put this on top of the pan with water, put a lid on it.
Don’t put the the pan with the soap directly on the burner, you don’t want the soap to get to hot and burn.
Allow the soap to slowly melt.
When it is melted you can add coloring and essential oils if you want, check online with the soap manufacture for suggested amounts. Stir gently to avoid creating air bubbles.
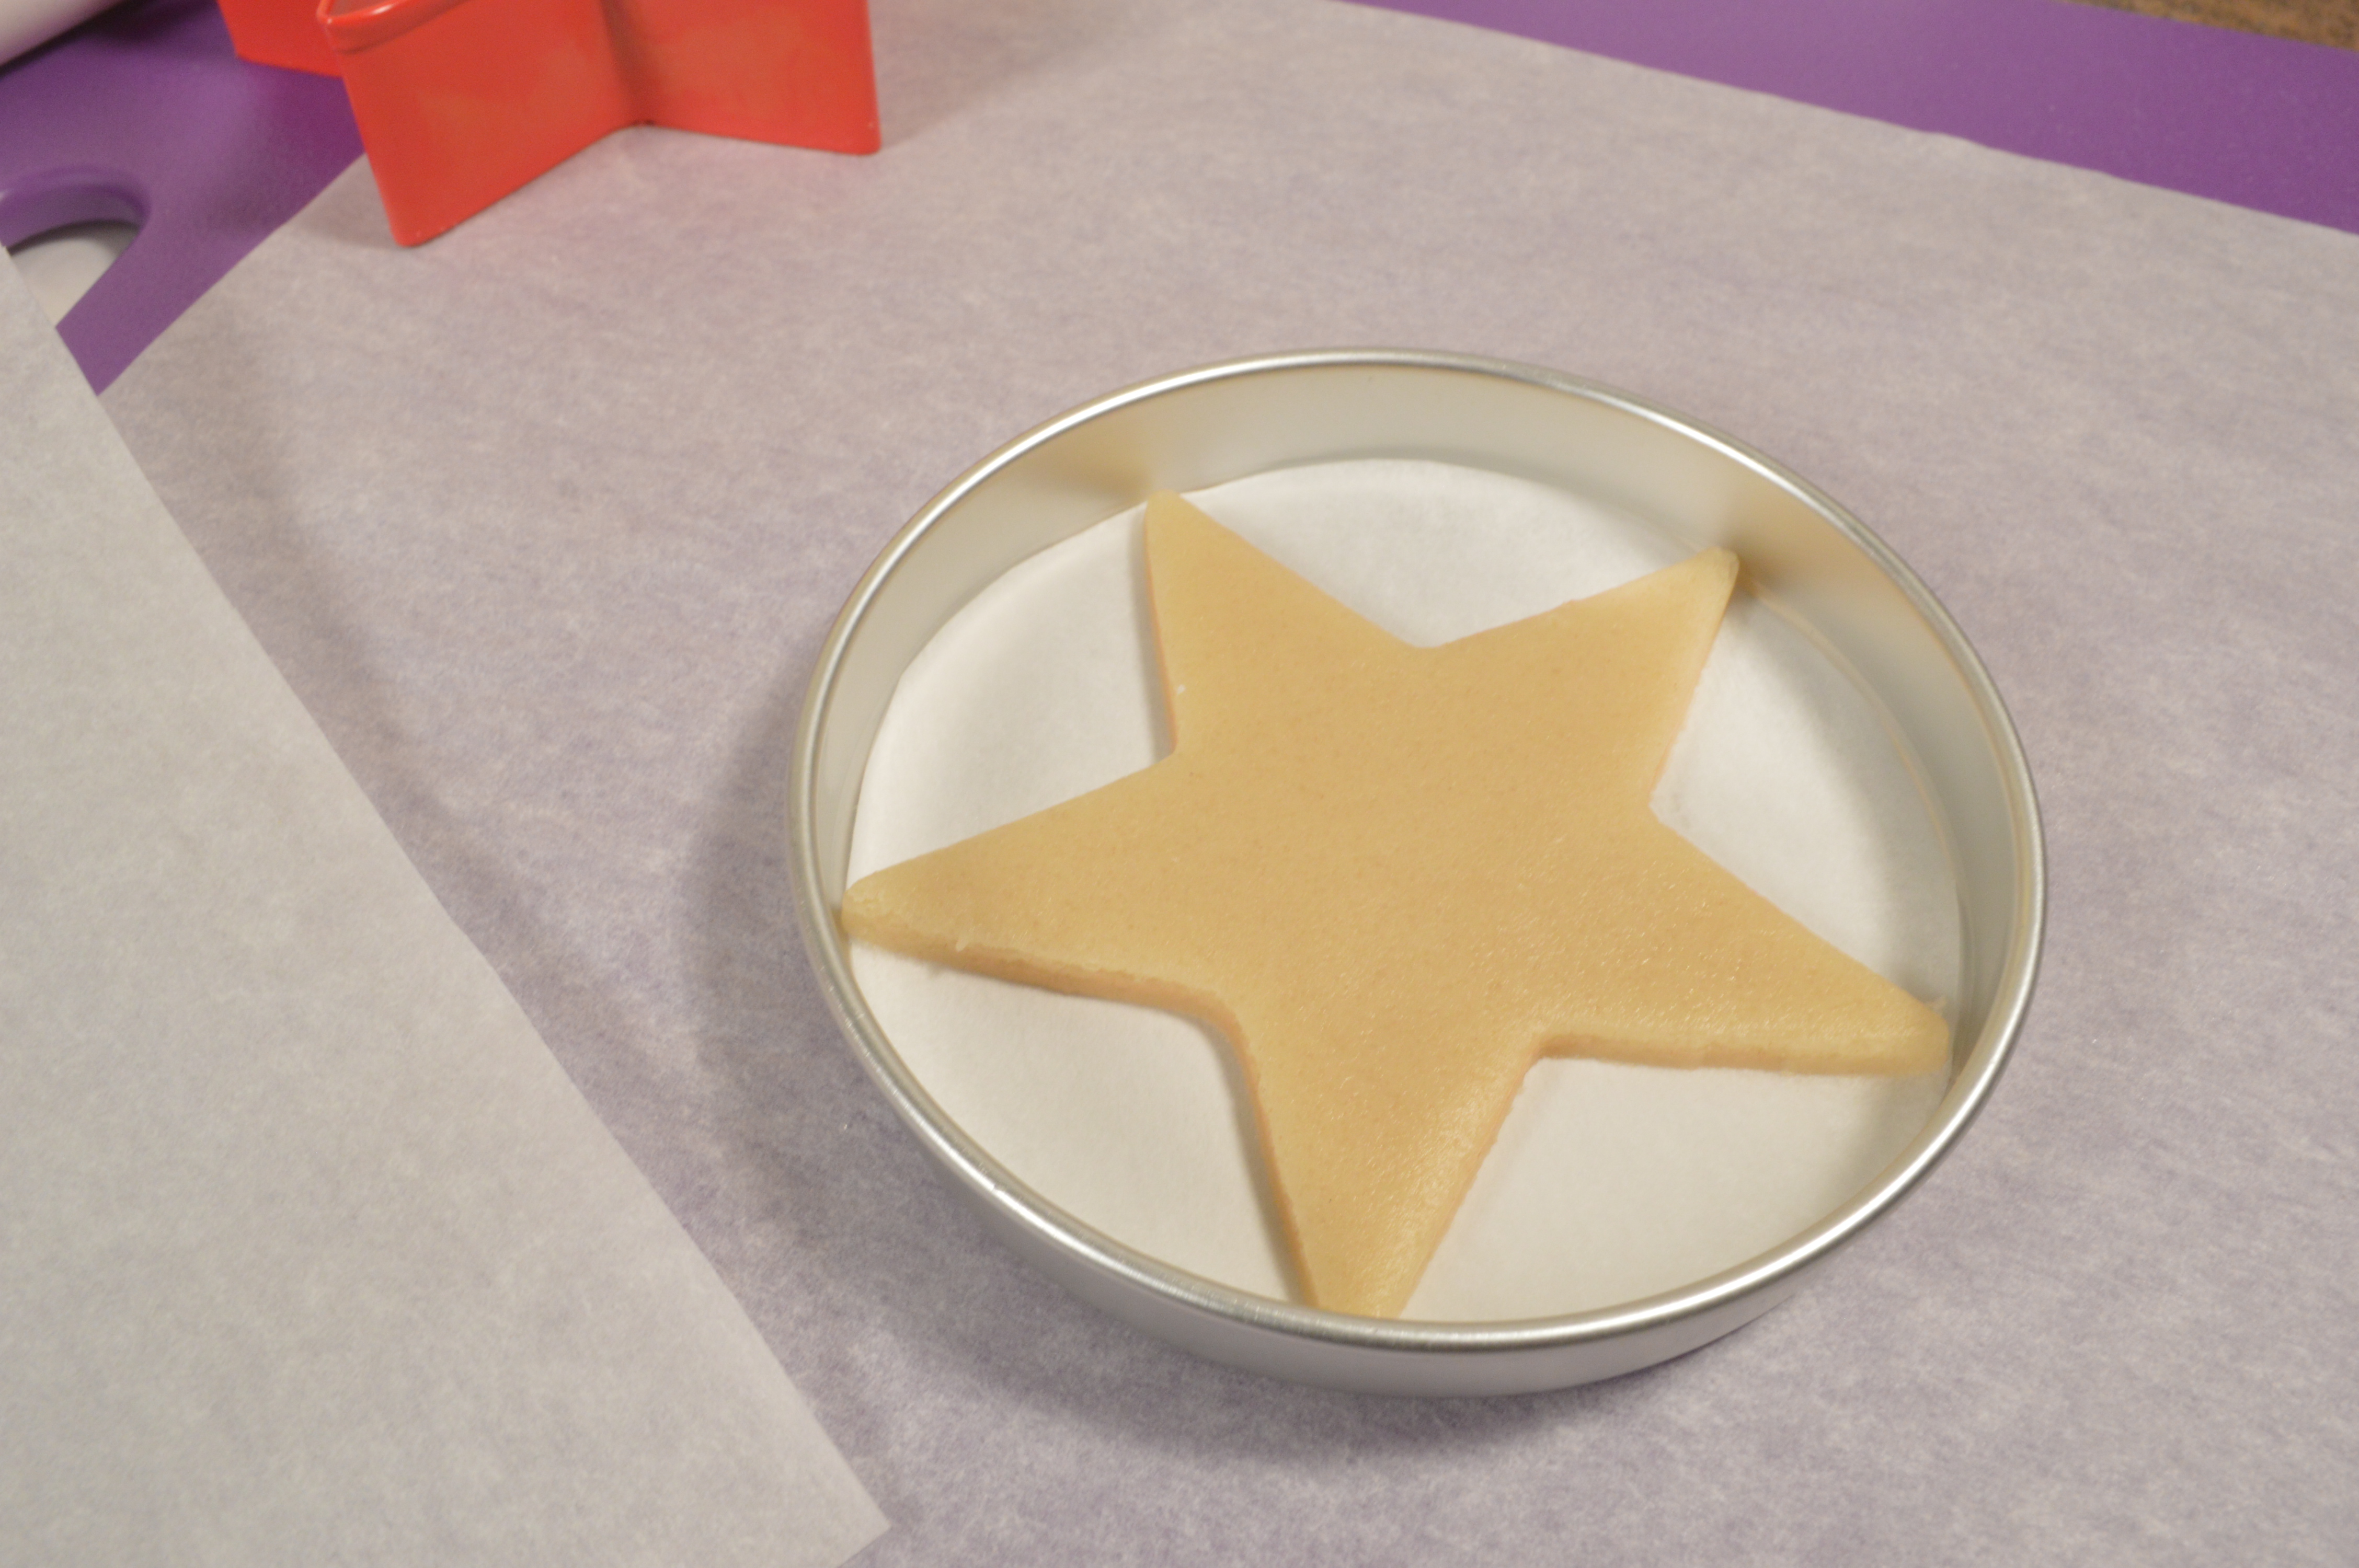
Carefully pour the soap into your mold.

Some manufactures suggest lightly oiling molds for easier removal of soap.
Let cool a few hours and remove from mold and admire your beautiful creation.

For safety notes on using essential oils:
http://teachsoap.com/2012/03/05/using-essential-oil-safely/
They also have a forum.

Types of M&P Soap available:
Clear
White
Goat’s Milk
Shea Butter
Hemp Seed Oil
Olive Oil

Things you can add to your soap:
Shea Butter    Cocoa Butter    Olive Oil        Emu Oil
Coconut oil    Mango Butter    Almond Oil
Aloe Vera Gel                            Calamine Lotion
Coffee Grounds                         Pumice Powder
Honey            Powdered Milk   Ground Oatmeal
Lavender        Rosemary        Calendula       


My Three Favorite Cooking Vessels

Camp Cup 1  Sierrra Cup 2   dog bowl .1

                                             Stainless Steel Sierra Cup, 12 oz.

Stainless Steel Cup, 16 oz.                                       Stainless Steel Bowl, 3 cups .

   When I first started cooking with my coffee maker I wasn’t sure if I could really cook anything at all with it. I was hoping to be able to make easy things like oatmeal, Ramen and mac and cheese and I didn’t want to have to wash the pot. I needed a different vessel to experiment with, and as I thought about what might fit on the burner, I remembered my trusty camp cups. Since I’d used my camp cups for cooking these very same things out camping, I figured they’d be perfect for the coffee maker. They had flat bottoms, and since metal is a better conductor of heat than glass, my food would heat up a little quicker in the cups than in the pot. As I experimented I found that if I put a lid on my metal cups not only would they heat up faster but I could raise the temperature by about 50 degrees. When cooking on an appliance that doesn’t put out much heat in the first place that can be substantial, it meant I could boil water, it’s more of a little simmer, but plenty of heat to cook anything.

     When I finally decided to try to bake cookies, I knew I needed some way to hold the heat in, so I would have to build a mini oven. My first try was with a 5 oz. tuna can to hold the cookie and my sierra cup to cover it and hold the heat in, it worked well until I started to bake other things where I used a larger 10 oz. tuna can. The sierra cup wasn’t large enough to cover the larger tuna can, so I rummaged around in my pantry and found a nice metal 3 cup bowl, it was perfect and became my 3rd favorite cooking vessel. With these 3 things I could cook almost anything. I only use the glass pot to cook larger quantities and bigger meals, like ribs, a Cornish game hen, chicken wings and even a corned beef. But that’s for another story. So if you want to bake cookies or hard boil a couple of eggs or even fry a steak, these are great cooking vessels to start with.  You should be able to find them in your local big box stores, try the camping section. If you can’t find them, I have provided links to them at Amazon.

Camp Cup, 16 oz. Hard boil an egg, heat soup, cook oat meal, ramen or mac & cheese.

Sierra Cup, 12 oz. A great little fry pan. Scramble or fry an egg or a hamburger. Also it’s a nice little bowl.

Bowl, 3 cups Turn it over and it makes a top for your mini oven. Try some cookies or maybe a mini coffee cake. I’ve even fried a steak in mine.

Super Bowl Sunday Wings, Made in a Coffee Maker

I spent the day with my favorite GUYs. We had Wings Cooked in a Coffee Maker with Guy Fieri Sauce.  It doesn’t get much better than that. Usually on Super Bowl Sunday you’ll find me gone to town, shopping. I’m not a big football fan, but we had a friend come from out of town to visit and watch the game so I decided to do a little coffee maker cooking. Since I was already going to have my two favorite guys here, I decided to invite one more, but since Guy Fieri could make it we decided to feast on his line of sausages and sauces without him.  I dug out my spare coffeemaker and had a blast cooking all kinds of snacks and treats all day long. ,Wings SBowl_0878

Guy’s Nacho Sausages with Old Skool Salsa and Wings with his sauces, all cooked with a coffee maker.

Wings

Cook time 2 ½ hours.

  • 1 ½ lb  chicken wings (tips removed)
  • 1 cup    Guy Fieri or your favorite homemade or bottled sauce

I like the Bourbon Brown Sugar and my husband likes the Kansas City Barbeque and our friend, well he was glad to have anything that wasn’t on his diet. There’s also Buffalo Wing Sauce, but we haven’t opened it yet. 

Wings SBowl pre-heatl_008

Pre-warm the wings (they will cook faster).
 

  .DSC_1083


Hot Spicy Meatballs


Hot Spicy Meatballs, A Great Super Bowl Snack

Cook time, about 1 hour

dl PicsArt_1387354055453

1/2    lb ground pork (use any meat you like)
1        egg
1/2    cup plain breadcrumbs
1        clove garlic, minced
1        tsp ginger, freshly grated
1        Tbsp soy sauce
1        chopped green onion
1/2    tsp black pepper

1        Tbsp sesame seeds
4        oz Your Favorite Hot Spicy Sauce

Meat Ball Ingredient 0618

  • Mix the ingredients together, until everything is evenly combined. (except the sauce and sesame seeds)
  • If you don’t want to get your hands gooey, use food handlers gloves.
  • Roll the mixture into balls, using about one large tablespoon of mixture for each.
  • Make 9, that’s about all you can get into your coffee pot.
  • Put the Meatballs into a bowl to pre-heat. (see directions below)

insulate the pot
Wrap the coffee pot with a double layer of foil, do not cover the bottom.
Take an 18 inch piece of foil, fold it in half lengthwise and wrap it around the pot.
This will help raise the temperature of the contents in the pot.
Later you will also be adding 2 layers of foil to cover the top.
This will help raise the temperature about 40 degrees.

Notes:
Never put a hot-pot on a cold surface, put it on a pot holder or a towel.
Never use a metal spoon in your coffee pot. Always use a wooden or plastic spoon, the glass is delicate and you don’t want to break it.

per-warm meatballs

  • Super Heat 2 cups of water by pouring it into the reservoir, letting it drip into the pot and pouring it back into the reservoir and let it drip into the pot again. This will raise the temperature about 20 degrees.
  • Pour the superheated water over the meatballs in the bowl and allow to warm whiling heating more water.

Meat Balls Bowl 0651

Coffee Pot shown without foil insulation.

  •  Super-Heat 2 Cups of water by pouring the water in the reservoir, letting it drip thru into the pot and pouring it back in to the reservoir, do not let it drip thru a second time yet.
  • Put the pre-warmed meatballs in the pot, do not include the water.
  • Put the pot on the burner.
  • Allow the Super-Heated water to drip over them.
  • Cover the top with a double layer of foil.
  • Cook 40 minutes.
  • Drain the water from the pot, being careful not to pour any of the meatballs out, any water left will thin your sauce.
  • Add 4 oz sauce and sesame seeds to the pot with the meatballs.
  • Cover, and cook an additional 20 min. to heat the sauce.

Caution: Never put a hot-pot on a cold surface, if you need to put it down not on the burner, put it on a hot pad or a towel.

Meatballs Pot 0758

Carefully remove the meatballs, you can use plastic tongs or just dump them out.

Meayballs Plate 0718


Questions

Q.  Do I have to super-heat the water and pre-warm the meatballs?
A.  No, just add an hour to the cooking time.

Q.  Do I have to super heat the water that I cook the meat balls in?
A.  No, just run the water thru the reservoir once and add about 20 minutes.

As you can see pre-heating meat and super heating water can really cut down on cooking time. When you put the cold meat in the pot of water you drastically reduce the water temperature, but by pre-heating you bring the meat temperature up about 50 degrees and when you are cooking with something that doesn’t put out a lot of heat, that can be substantial.

Oatmeal — Breakfast that taste like Dessert

The coffee maker is the perfect way to make oatmeal, at home or away.

We recommend that you cook your oats in a metal cup or bowl, the metal conducts the heat better so they will cook faster and you won’t have to clean your pot. For specific instructions on the 8 different types of oatmeal see http://www.cookingwithyourcoffeemaker.com/513/oatmeal-cooking-chart-2/

.Oatmeal Bowl 1390534556689

Is that a little tiny pan? Yep, I’m a collector and now I collect tiny pans, fry pans, cups, bowls and any other metal container that will fit the burner of my coffee maker. But still some of my favorite cooking vessels are the Sierra cup and camp cup I started with, so use whatever you can find.  Oh, but don’t use those cute little cast iron fry pans, they take to much heat to get them hot and then the handle wicks it all away.

Be sure your cup or bowl fits flat on the burner and has a lid of some kind, almost any small lid will do, even if you have to turn it upside down so it covers well. In a pinch, just use foil. Covering with a lid is the most important thing you can do, it will raise the temperature 30-40 degrees.

For specific instructions on the 8 different types of oatmeal see http://www.cookingwithyourcoffeemaker.com/513/oatmeal-cooking-chart-2/
You will need to adjust the amounts on the chart to suite your preferences.
• Pour water into the reservoir.
• Put oats into a metal cup or bowl and put it on the burner.
• Turn on machine.
• When water is done dripping onto the oats, stir and cover with a lid.
• Stir occasionally.
• If your oatmeal is to thin, leave in on the burner for a few minutes with the lid off.
Note:
The cooking time for oats cooked with the coffee maker and oats cooked on top of the stove will be different.
1.    Stove top cooked oats will reach a boil more quickly.
2.    You will notice a big difference in some of the cooking times and the amounts of water, this is because the chart for coffee maker cooked oats is to my preference.

What’s your favorite oat and how do you like to top it?


Instant Oatmeal

Instant Oatmeal with Fruit and Nuts  
There is no reason breakfast can’t taste like dessert. See some of my favorite toppings listed below.

The coffee maker is the perfect way to make instant oatmeal, at home or away.
When I make instant oatmeal it never seems quite done if I just pour hot water in it. It just seems a little raw, so I make mine with a coffee maker in a metal bowl. I let the water drip onto the oatmeal, stir and let it set a few minutes on the burner. This really is a great way to finish it off and it turns out perfect.  Stir often, and don’t leave it on to long.

.bowl 017

  • Put 2 pkg instant oatmeal in a metal bowl or cup.
  • Put the bowl on the burner of the coffee maker.
  • Pour 1 cup of water in the reservoir.
  • Turn on the machine and let the water drip thru on to the oats.
  • Let the oats sit on the burner for a couple of minutes, be sure and stir often.

Toppings

Pureed Fruit (Baby food adds a great flavor, it’s pure fruit with no aditives.)
* You can always keep some on hand.

Morning Trail Mix
* Dried fruits and nuts along with a little maple syrup.

Banana-Coconut-Oatmeal Pie
* Banana puree, shreaded or flaked coconut and maple syrup.

Oatmeal Cooking Chart (Cooked with a Coffee Maker)

I hope you like oatmeal as much as we do. My husband had to eat all 8 kinds of oatmeal so I could make this chart, and he isn’t tired of it yet. I included a PDF file of the chart that you can download and print, it also has a 2nd page that has instructions for regular Stove Top Oatmeal. So even if you don’t want to make oatmeal with your coffee maker this has instructions for cooking all 8 kinds of oatmeal.

Double click on the PDF link below, and it will open in a new window.

Oatmeal Cooking Chart

3 oat 0692

         Instant        Quick       Old Fashioned   Q Steel Cut  Steel Cut     Groats        Scottish       Oat Bran

Oatmeal Cooking Chart

Oatmeal Cooked with a Coffee Maker
.
1
Serving  
Instant
Oatmeal  
Rolled Oats
Quick
Cooking   
Rolled Oats
Old
Fashioned 
Steel Cut
Quick
Cooking  
Steel Cut 
Oats
Groats
Whole
Oats
Scottish
Oatmeal
Oat Bran
Cereal
Oats 1/3 cup
28 g
1/2 cup
41 g
1/2 cup
41 g
1/4  cup
36 g
1/4 cup
44 g
1/4  cup
46 g
1/4 cup
36 g
1/3  cup
40 g
Water 1/2 cup
120 ml
3/4 cup
180 ml
1 – 1¼ cup
240-300 ml
3/4 cup
180 ml
3/4 cup
180 ml
1½-1¾ cup
360-420 ml
3/4 -1 cup
180-240 ml
1½ cup
360 ml
Prep Drip water
stir, cover
let stand
few min
on burner
Drip water
stir, cover
simmer
5-10 min
stir
Drip water
stir, cover
simmer
10-15 min
stir
Drip water
stir, cover
simmer
30-40 min
stir
Drip water
stir, cover
simmer
45 min
stir
Drip water
stir, cover
simmer
45 min
stir
Drip water
stir, cover
simmer
1 hr 45 min
stir
Drip water
stir, cover
simmer
1 hr 45 min
stir

We recommend that you cook your oats in a metal cup or bowl, the metal conducts the heat better so they will cook faster and you won’t have to clean your pot. Be sure your cup or bowl fits flat on the burner and has a lid of some kind, almost any small lid will do, even if you have to turn it upside down so it covers well. In a pinch, just use foil. Covering with a lid will raise the temperature 30-40 degrees.

  • Pour water into the reservoir.
  • Put oats into a metal cup or bowl and put it on the burner.
  • Turn on machine.
  • When water is done dripping onto the oats, stir and cover with a lid.
  • Stir occasionally.
  • If your oatmeal is to thin, leave in on the burner for a few minutes with the lid off.


The basic information on this chart, Oatmeal Cooked with a Coffee Maker was obtained from the package labels of oat products from Bob’s Red Mill and then adapted to coffee maker cooking.

For a chart on Stove Top Oatmeal cooking, please click the link at the top of the page.


Gourmet Soldier’s Split Pea Soup

All Soldier’s Soups are made with canned and or dried ingredients. The ingredients can be shipped to your favorite soldier for cooking in a coffee maker. These soups are also great for college students living in dorms and office workers, that are tired of fast food and want a hardy lunch. And they make great Camp Food.

Gourmet Soldier’s Split Pea Soup (Cooked in the Pot)
Cook time, app. 4 hours. The same as a slow cooker.

Soup Bowl 63608463047

2 cups    split peas (one 16 oz bag)
4 cups    broth or water
1/4 tsp    minced onions, dry
1/4 tsp    pepper

1 sm     can carrots
1          1 lb canned ham (you may only be able to get 1/2 of it in the pot)

Pea Soup fixings


insulate the pot

  •    Wrap the coffee pot with a double layer of foil, do not cover the bottom.
  •    Take an 18 inch piece of foil, fold it in half lengthwise and wrap it around the pot.
  •    This will help raise the temperature of the contents in the pot.

Notes:
Never put a hot pot on a cold surface, put it on a pot holder or a towel.
Never use a metal spoon in your coffee pot. Always use a wooden or plastic spoon, the glass is delicate and you don’t want to break it.


cook and stir

  • Add the peas, broth, onions and pepper to the pot. Give it a stir. (wooden or plastic spoon)
  • Put a double layer of foil on top of the pot.
  • Put the pot on the burner and stir after about 10 minutes. (wooden or plastic spoon)
  • Stir every hour bringing up the peas from the bottom. (stir to make sure they all get cooked well)
  • Cook for about 2 hours, add carrots and stir well bringing up the peas from the bottom.
  • Cook for 2 hours more, until split peas are done to your liking.
  • Add the canned ham, cook until hot. (You may not be able to get it all in the pot.)

DSC_1181

This is only 1/2 of the canned ham, so the whole ham might not fit.

Caution: Never put a hot pot on a cold surface, if you need to put it down not on the burner, put it on a hot pad or a towel.


Split Pea and Ham Soup

Split Pea and Ham Soup (Cooked in the Pot)
Cook time, app. 4 hours. The same as a slow cooker.

I love pea soup and whenever I buy a ham I always get the biggest one I can find so I can make split pea soup.

Making pea soup in the coffee maker is much like making it in the slow cooler.

..Pea soup 012

Since I wanted to use the bone for flavor I had to break it up so it would fit into the pot. I couldn’t cook it with the peas so I cooked it by it self with 4 cups of water for about 2 hours, then I used the broth to cook the peas in.

.ingredients 023

4 cups    broth (you will be making this from the bone, include any juice you have from the ham unless it it is very sweet from the glaze)
2 cups    split peas (one 16 oz bag)
1/4 tsp    minced onions, dry
1/4 tsp    pepper

1/2 cup  carrots
1 lb         ham cut into chunks (you may only be able to get 1/2 of it in the pot)

insulate the pot

  •    Wrap the coffee pot with a double layer of foil, do not cover the bottom.
  •    Take an 18 inch piece of foil, fold it in half lengthwise and wrap it around the pot.
  •    This will help raise the temperature of the contents in the pot.

Notes:
Never put a hot pot on a cold surface, put it on a pot holder or a towel
Never use a metal spoon in your coffee pot. Always use a wooden or plastic spoon, the glass is delicate and you don’t want to break it.

cook the bone

.Bone 1409

  • Add the bone to the pot. Add any juices you have from the ham unless they are to sweet from a glaze. Put the pot on the burner.
  • Pour 4 cups of water in to the reservoir, turn on the machine and allow the water to drip thru on to the bone.
  • Put a double layer of foil on top of the pot.
  • Cook about 2 hours to make the broth.
  • Take the bone out of the pot and leave the broth.
  • You will be using the broth to cook the peas in.

cook and stir  (cook app. 4 hours, the same time as a slow cooker)

  • To the broth, add the peas, dry minced onions and pepper. Give it a stir. (wooden or plastic spoon)
  • Put the foil back on top.
  • Put the pot on the burner and stir after about 10 minutes. (wooden or plastic spoon)
  • Stir every hour bringing up the peas from the bottom. (stir to make sure they all get cooked well)
  • Cook for about 2 hours, add carrots and stir well bringing up the peas from the bottom.
  • Cook for 2 hours more, until split peas are done to your liking.
  • Add the ham, cook until hot. (You may not be able to get it all in the pot.)


This is only 1/2 of the ham, so the whole ham might not fit.

Cook time, app. 4 hours. The same as a slow cooker.

Caution: Never put a hot pot on a cold surface, if you need to put it down not on the burner, put it on a hot pad or a towel.


Cookies for Santa

Cookies for Santa

.DSC_0793 gb santa PicsArt_1387947862769

Yep, I’ve been a really good girl this year, I even made cookies for Santa with my Coffee Maker. Sure hope he loves them as much as I loved making them.
I know some of you don’t have a kitchen so I kept it real simple and just used cookie mix.
I made 3 kinds of cutout cookies, Peanut-butter, Gingerbread and Sugar Cookies.

Use what ever cookie mix you like, make the dough really stiff and have fun making them as gifts or to leave for Santa, but make a few extra so you have some to eat your self.

.DSC_0971

Notes
Fat:     Use what ever your mix calls for, oil or butter, but only use 1/2 the amount.

Eggs:     Use them if you have them or use an egg substitute like EnerG Egg Replacer. I don’t usually bother with eggs in regular cookies, but in rolled cookies, the egg will help give it structure to hold it’s shape.

Water:    You will use probably 1/2 the water called for in a recipe, you want a really stiff dough, so add a small amount at a time and really work it in the dough, don’t let your grandma see you do this. When it is so stiff that it crumbles in your hand, add 3 or 4 more drops. The reason you want the dough so stiff is because the coffee maker does not get hot like a oven and at such a low temperature it is hard to drive off the moisture, so you need to start with very little in what ever you bake. Although a regular cookie can be a little less dry, it you add to much moisture to a rolled cookie, it will spread and loose it’s shape.

.Dough 0893

No rolling pin, no problem. I use a piece of pvc pipe, the end caps are about 1/8 inch thick, perfect for rolled cookies.
Be sure to use parchment paper to roll out the cookies. It also makes it easier to transfer them to the small piece of parchment paper you will be cooking them on.

.Dough 2 0897

Transfer the cookie to a small piece of parchment paper to cook it on, the paper will also help in getting the cookie out when it is done.
Use a shallow pan that will sit flat on the burner of your coffee maker to cook your cookie on.

.oven 1 0922

Build a mini oven: You are going to need to cover your cookie to hold in the heat. I love tuna cans and small stainless steel bowls (dog dishes).

.Oven 2 0926

Cover with a large tuna can or whatever will fit.

.Oven3 0930

Put a small bowl over the tuna can.
The containers covering your cookie will get really hot so be sure and use a hot pad.
The cookies will take about 15 minutes to cook.

.Baked Cookie 0958

Ready to eat or decorate.

Time to Decorate Your Cookies.

.Decotate 0946

I hope you have as much fun making them as I did.

Tips

  • Pre-heat your oven for about 10 minutes.
  • If you add to much water to your dough, just add a little flour to stiffen it up.

FAQ
Q.  Can I use pre-mixed refrigerator dough?
A.  Yes you can, but it is to soft, so for every 3 cookies you will have to add 1 tbsp flour and work it in well. If you are not making rolled cookies then just use it the way it comes, it will spread a lot but that’s not a problem for non-rolled cookies.